

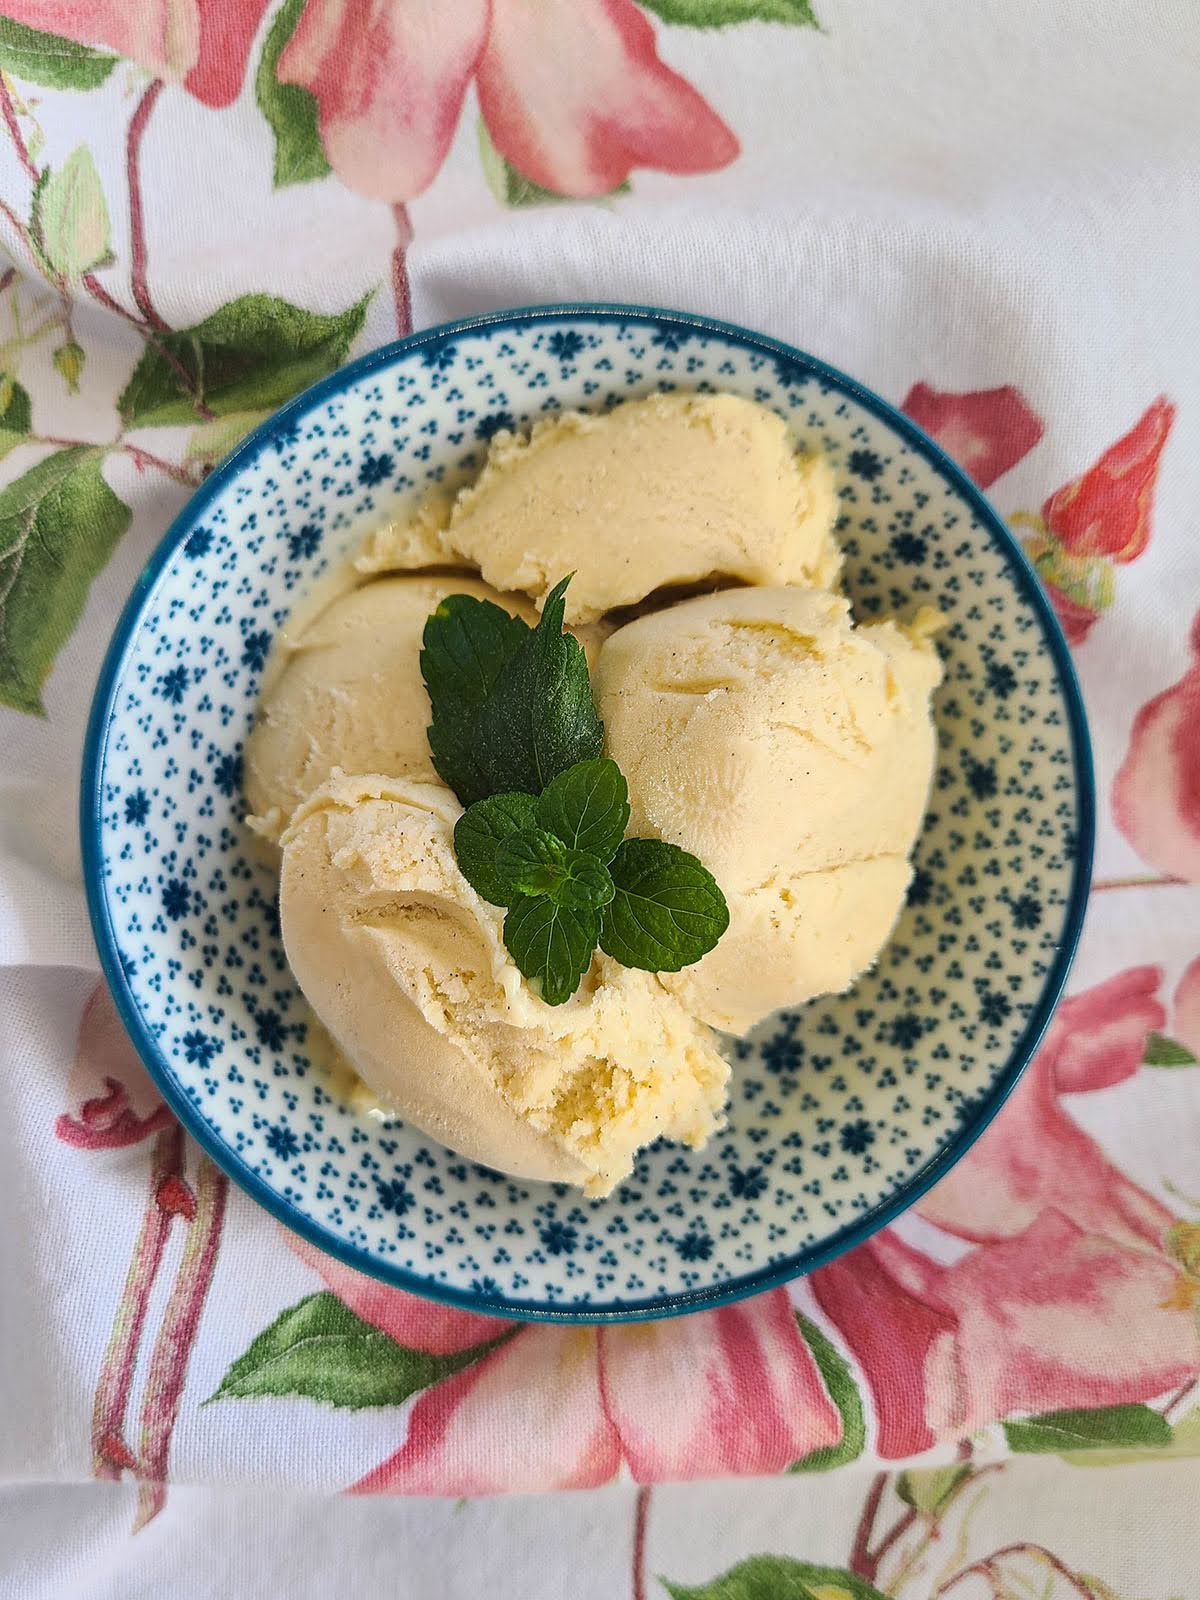
A creamy rich dessert that’s perfect for any time of the year! Inspired by the recipe from Stardew Valley, this homemade vanilla ice cream features simple ingredients and offers both dairy and dairy-free options. Make it with an ice cream machine, immersion blender, or even just by hand!
This delicious homemade vanilla ice cream is so fun to make and tastes absolutely delicious. It’s a recipe of my mum’s, which is something I always look forward to enjoying when I visit home. This recipe offers both dairy and non-dairy ingredient options, plus three different methods to make the ice cream: using an ice cream machine, an immersion blender, or just by hand.
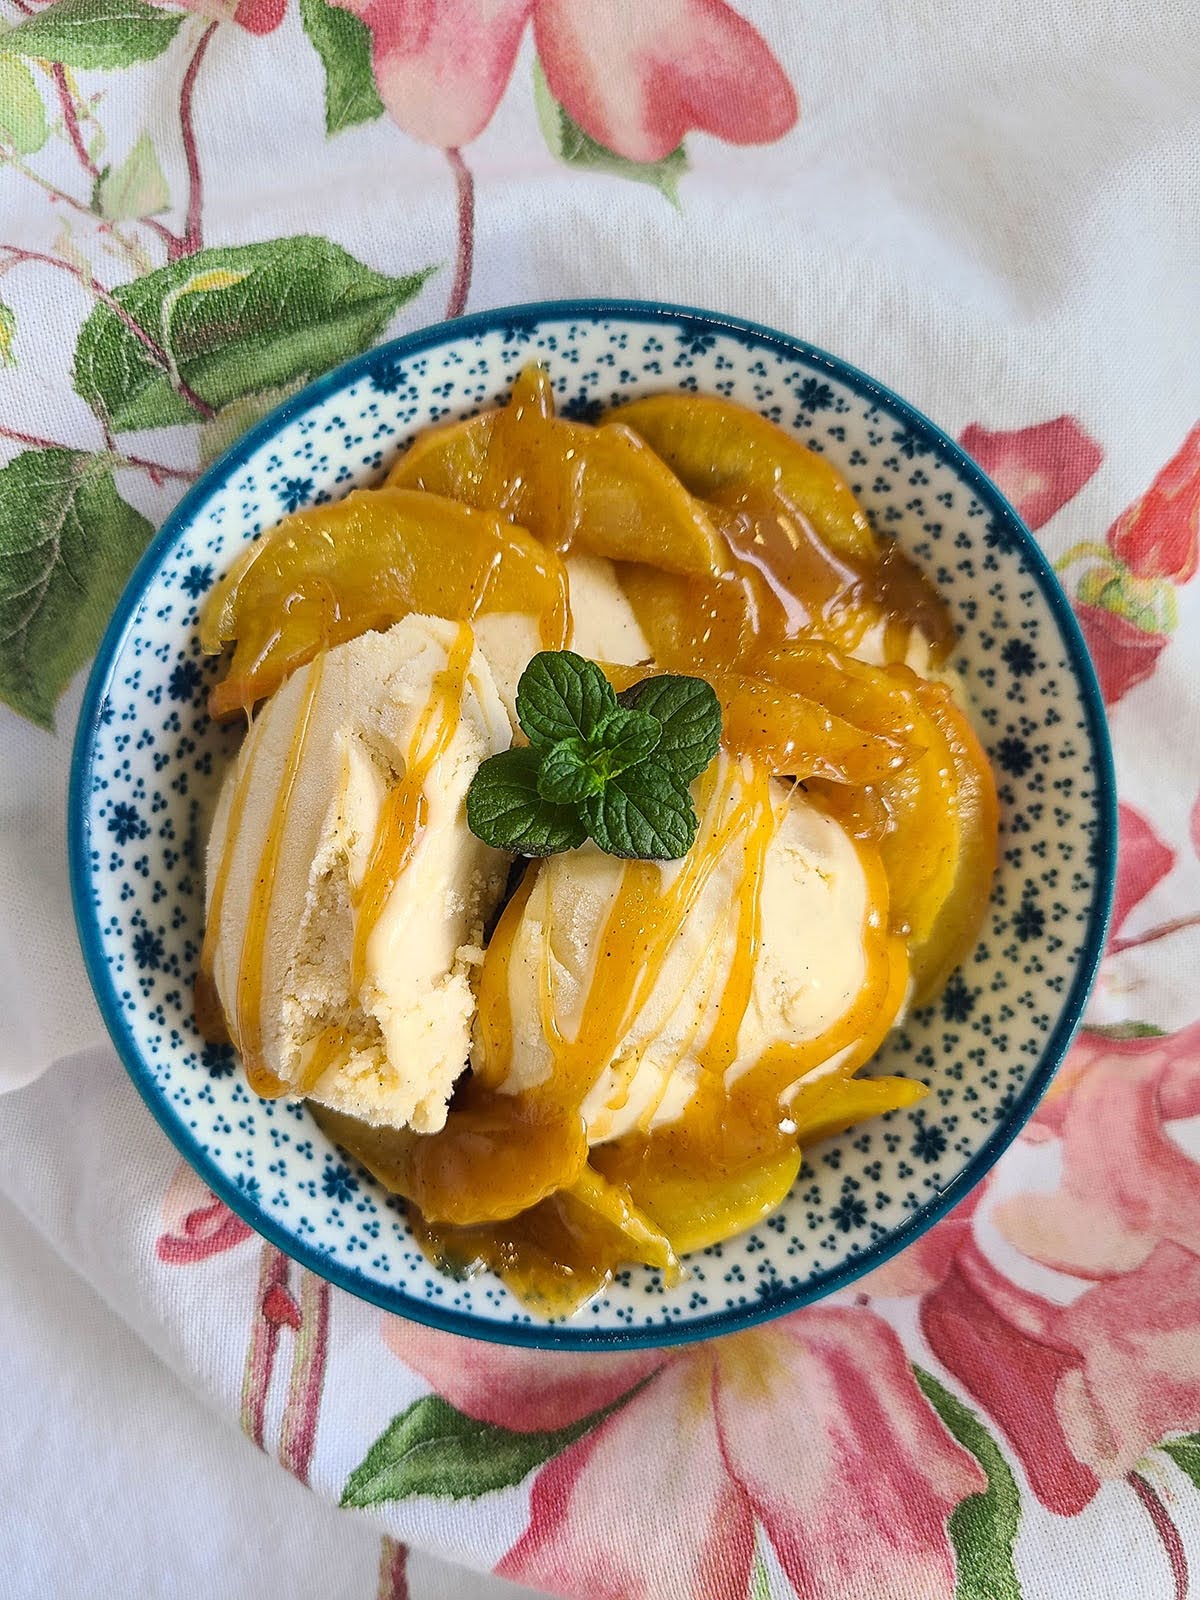
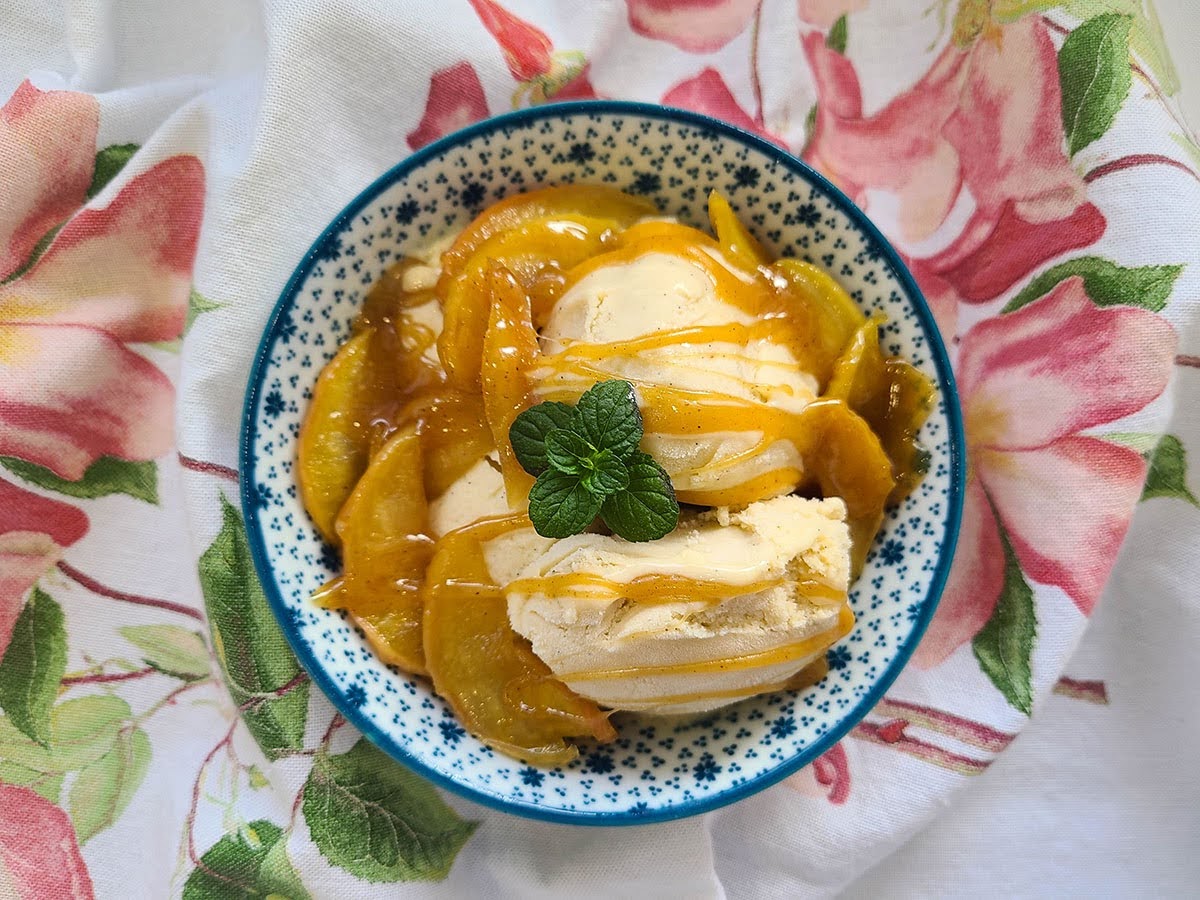
While this ice cream had a wonderful vanilla fragrance and taste all on its own, I think it’s extra amazing topped with some caramelized honeyed apples, inspired by the recipe from Zelda Tears of the Kingdom and Breath of the Wild. You can definitely enjoy it either way, or with any other toppings you like!
Click here for the recipe for honey caramel apple slices!
This recipe also offers customizable options for several of the ingredients. If you don’t want to use heavy cream and milk, just swap them for full-fat coconut milk. To make this recipe more budget friendly, you can also replace the honey with plain sugar and the vanilla bean pod with vanilla bean paste or extract.
Making ice cream does take some time (about 14 hours) but most of it is just the time it takes the ice cream to freeze, not active labour. In total, the labour involved doesn’t total more than about 2 hours.
I do recommend making this when you’re going to be home for the day. This is because the churning of the ice cream, especially if you’re using an immersion blender or churning it by hand does require some repeated attention – it must be churned for 2 minutes once an hour, for 5 hours.
Ice cream in Stardew Valley: milk + sugar
In Stardew Valley, ice cream can be made in your upgraded farmhouse kitchen using just 2 ingredients – milk and sugar. Pretty simple. How do you get the recipe for ice cream? Just be really nice to Jodi! Once your friendship with Jodi is well-established, keep an eye on your mailbox for her ice cream recipe. Alternatively, if you just want to buy ice cream, Alex sells it at the ice cream stand every summer.
While most of the villagers like ice cream, Demetrius absolutely LOVES it. Of course, someone also had to hate it, so don’t try giving ice cream to Emily, Harvey, Krobus, Leo, Leah or Willy.
I can kind of understand the reasoning behind most of these villagers hating ice cream based on their character traits, but Leah? Why doesn’t she like ice cream? Especially after escaping her terrible relationship previously, doesn’t she just deserve the sweeter things in life now? I guess I will just keep giving her my trashy driftwood since she loves it so much…
Anyways, onto the ice cream recipe!
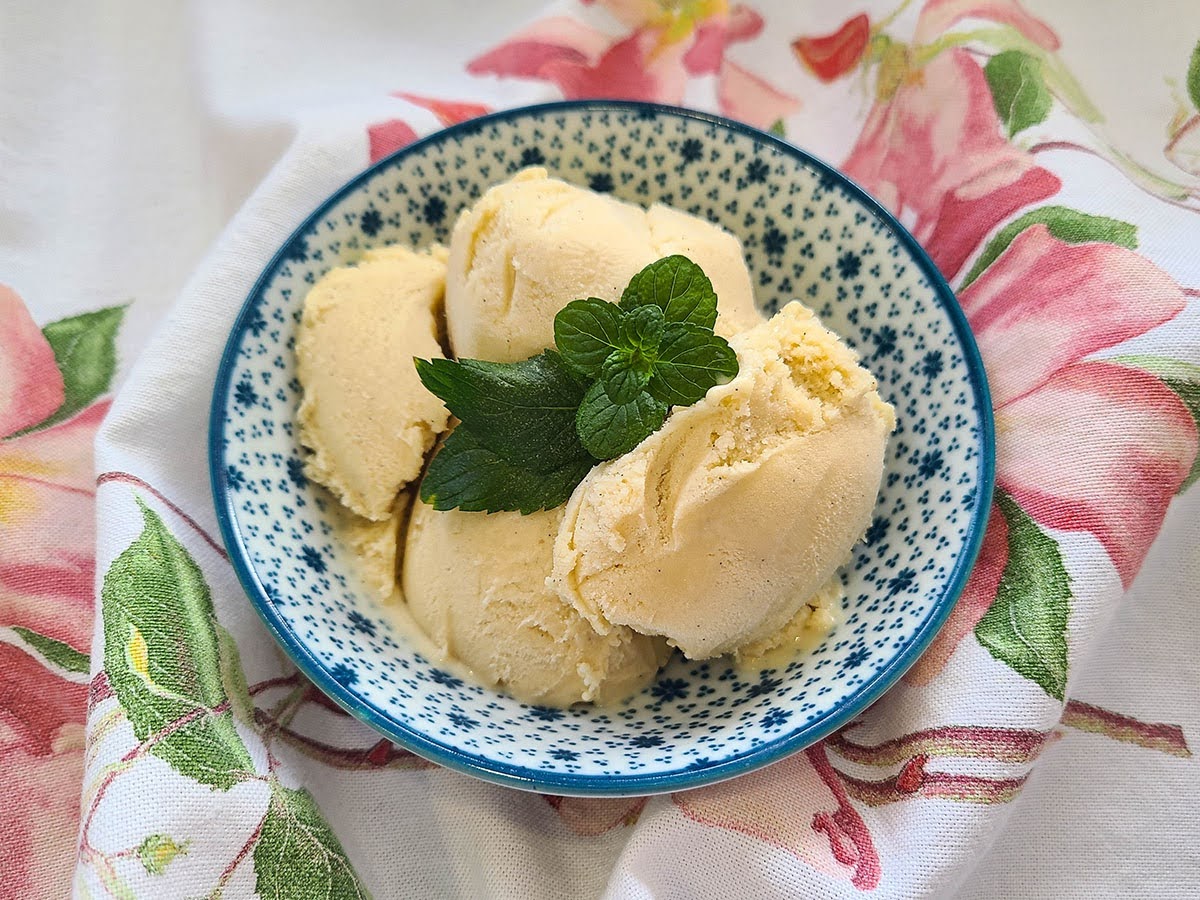
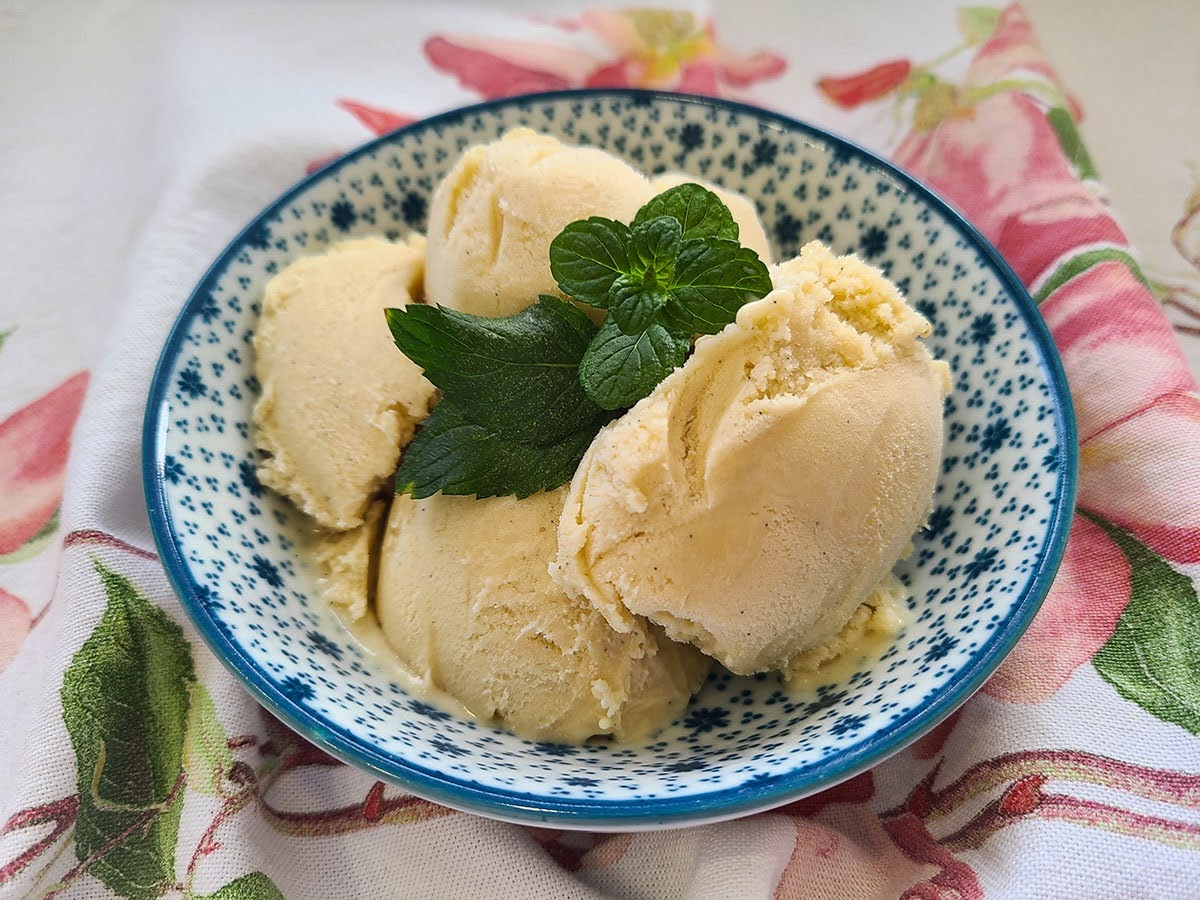
Homemade Vanilla Ice Cream
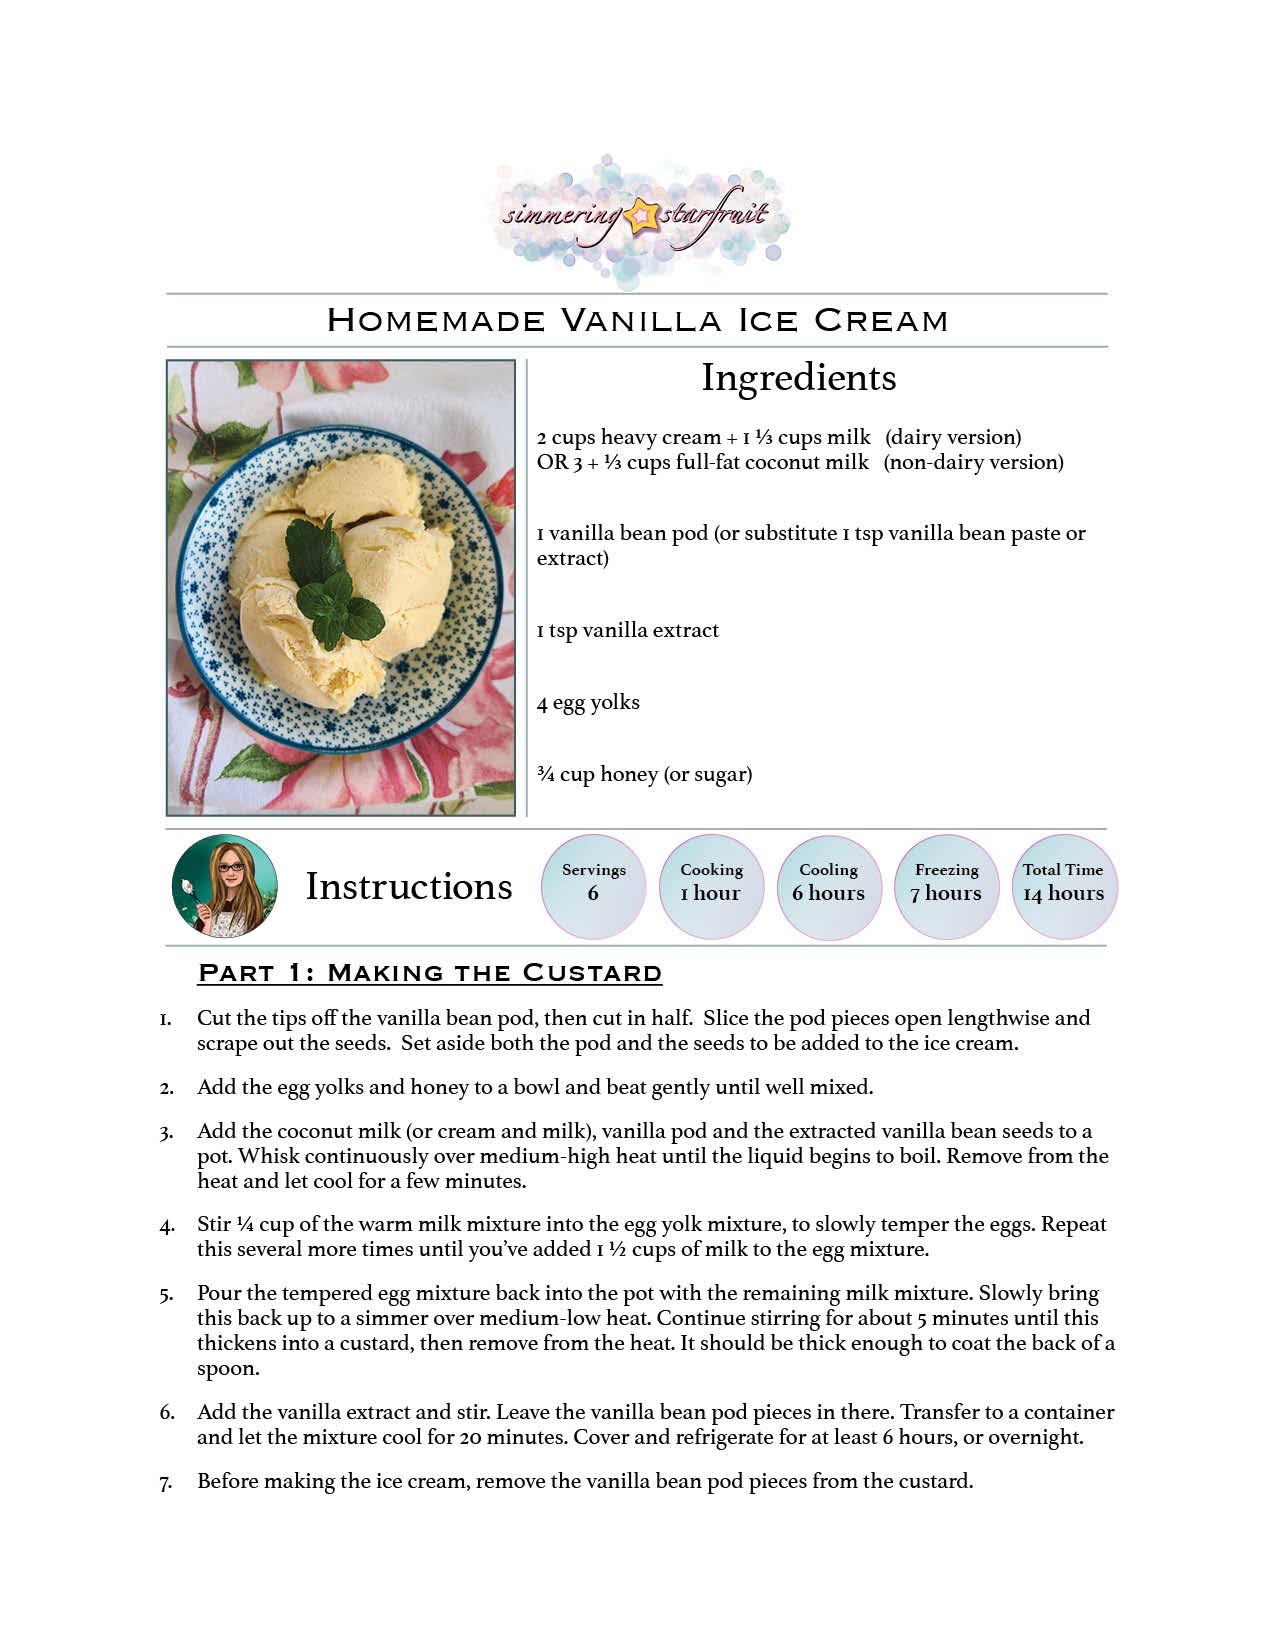
A cold and creamy homemade treat, this vanilla ice cream is ready from start to finish in about 14 hours. This recipe makes about 6 servings.
Ingredients
- 2 cups heavy cream + 1 ⅓ cups milk (dairy version) OR 3 + ⅓ cups full-fat coconut milk (non-dairy version)
- 1 vanilla bean pod (or substitute 1 tsp vanilla bean paste or extract)
- 1 tsp vanilla extract
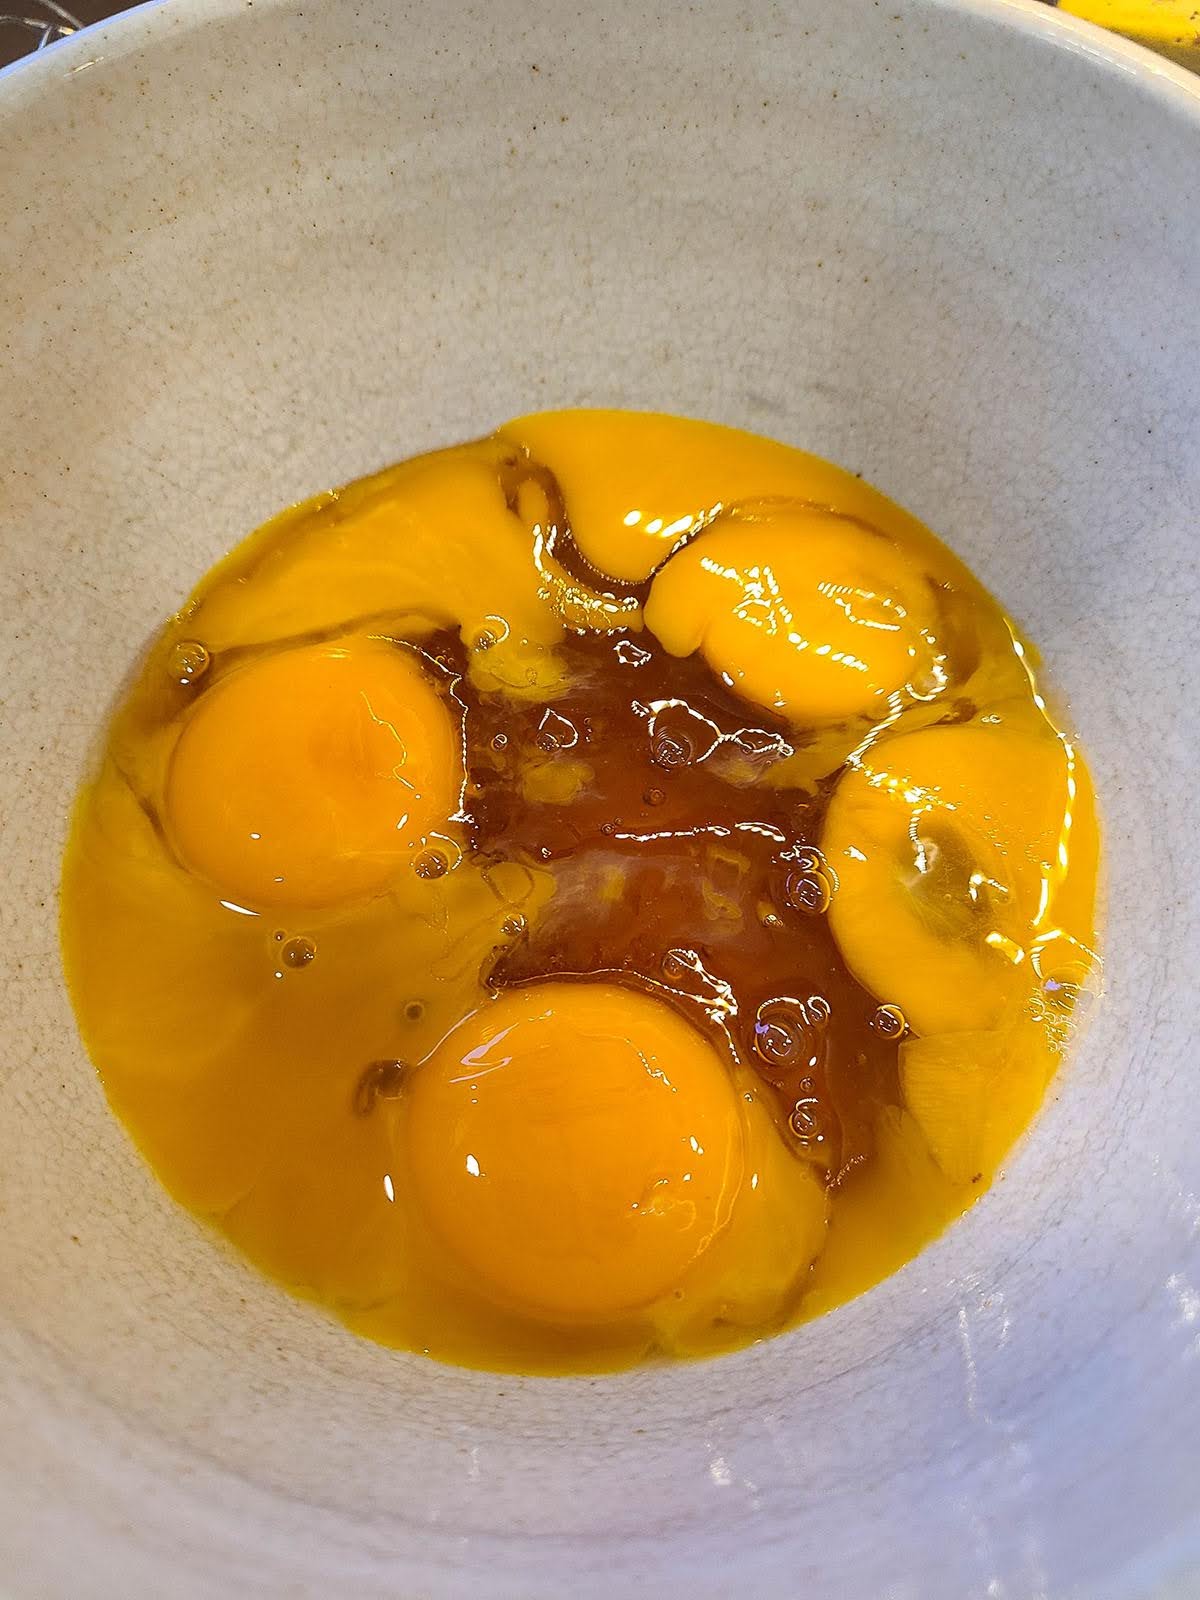
- 4 egg yolks
- ¾ cup honey (or sugar)
Tools
- measuring spoons
- measuring cups
- knife
- cutting board
- whisk
- medium sized pot
- large heat-proof mixing bowl
- airtight freezer-safe storage containers or metal pan
- large ziplock or sealable freezer bag
- ice cream maker / immersion blender + plastic blender-safe jug / spoon

Instructions
Part 1: Making the Custard
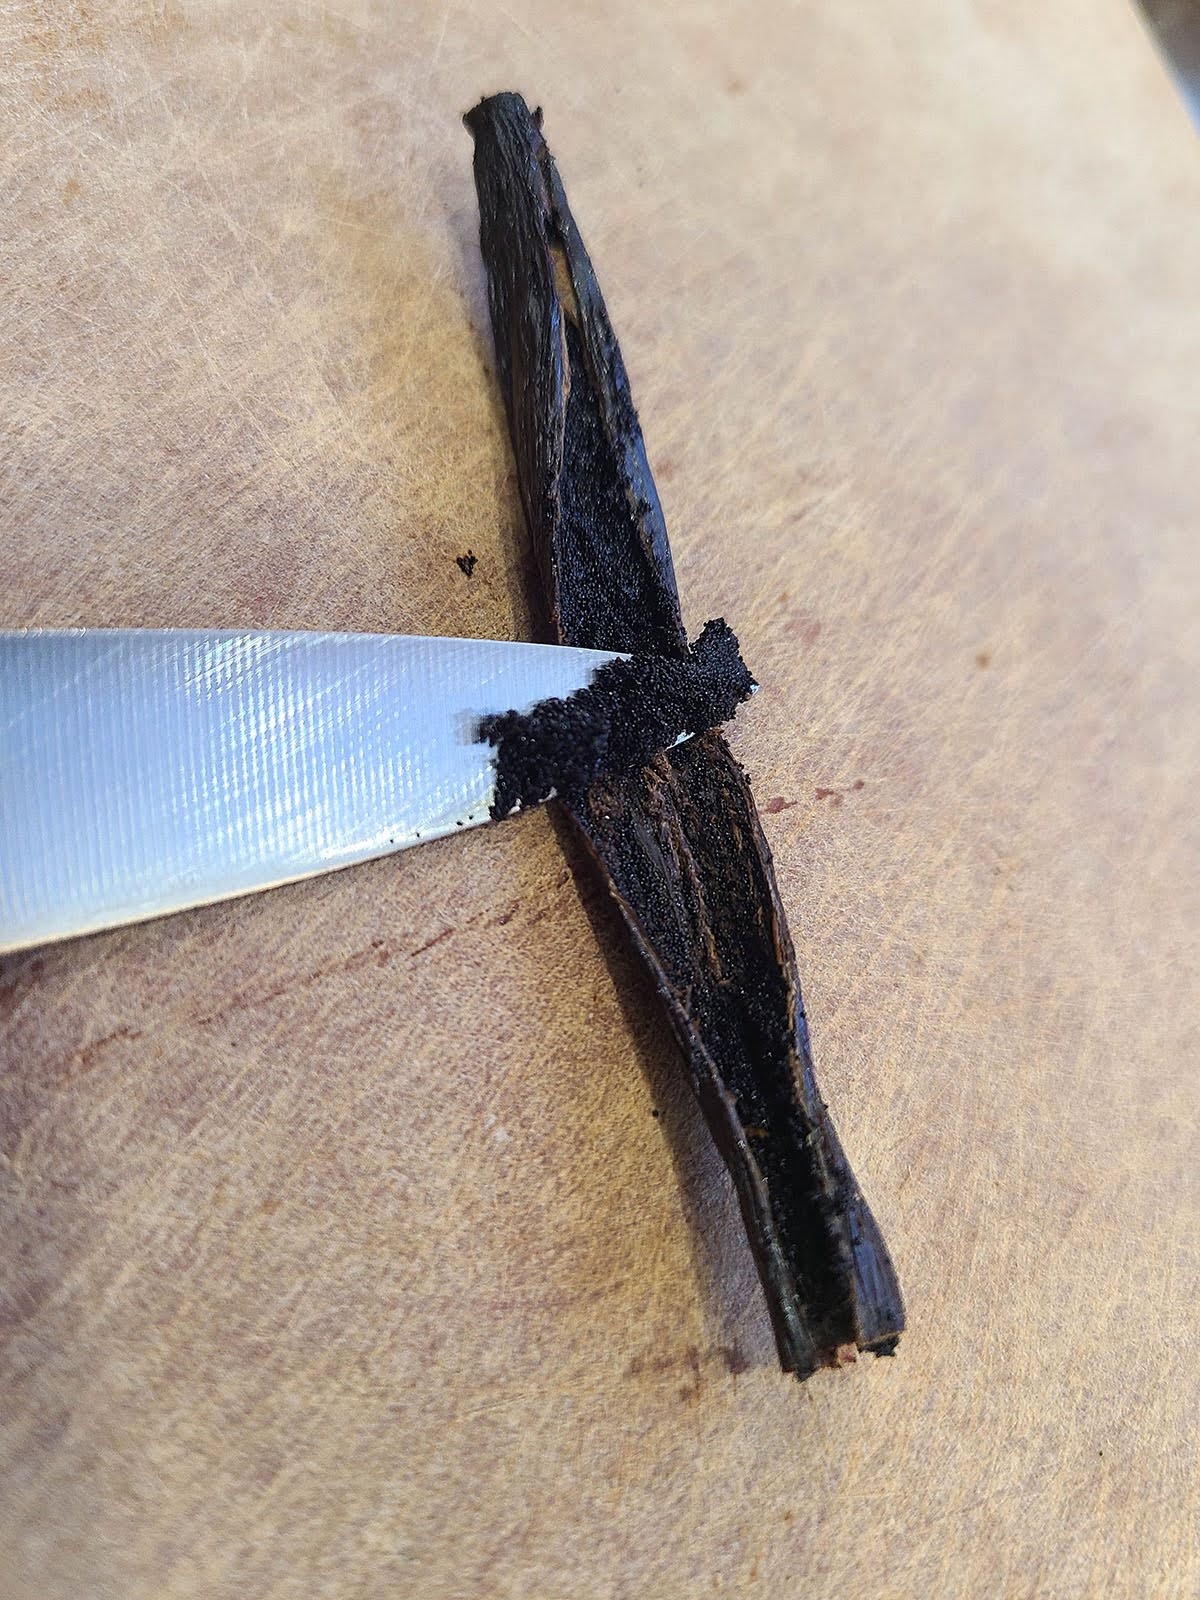
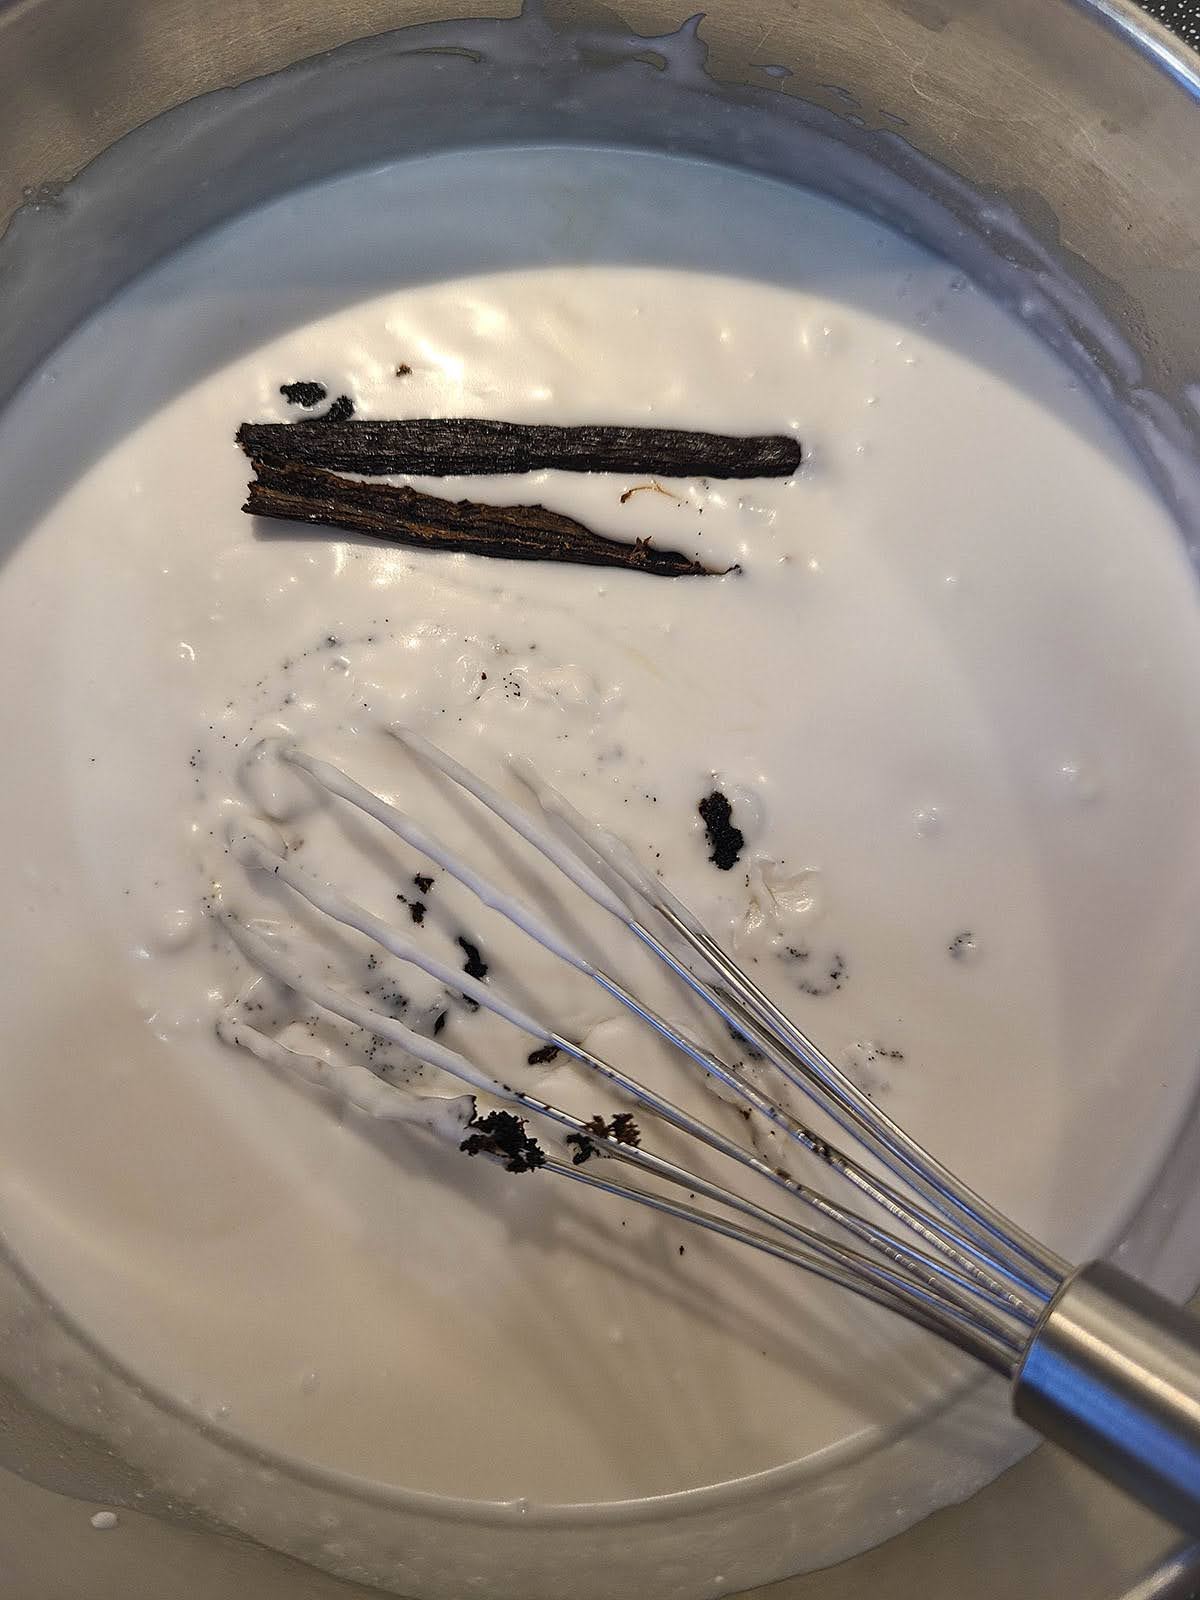
1. Cut the tips off the vanilla bean pod, then cut in half. Slice the pod pieces open lengthwise and scrape out the seeds. Set aside both the pod and the seeds to be added to the ice cream.
2. Add the egg yolks and honey to a bowl and beat gently until well mixed.
3. Add the coconut milk (or cream and milk), vanilla pod and the extracted vanilla bean seeds to a pot. Whisk continuously over medium-high heat until the liquid begins to boil. Remove from the heat and let cool for a few minutes.
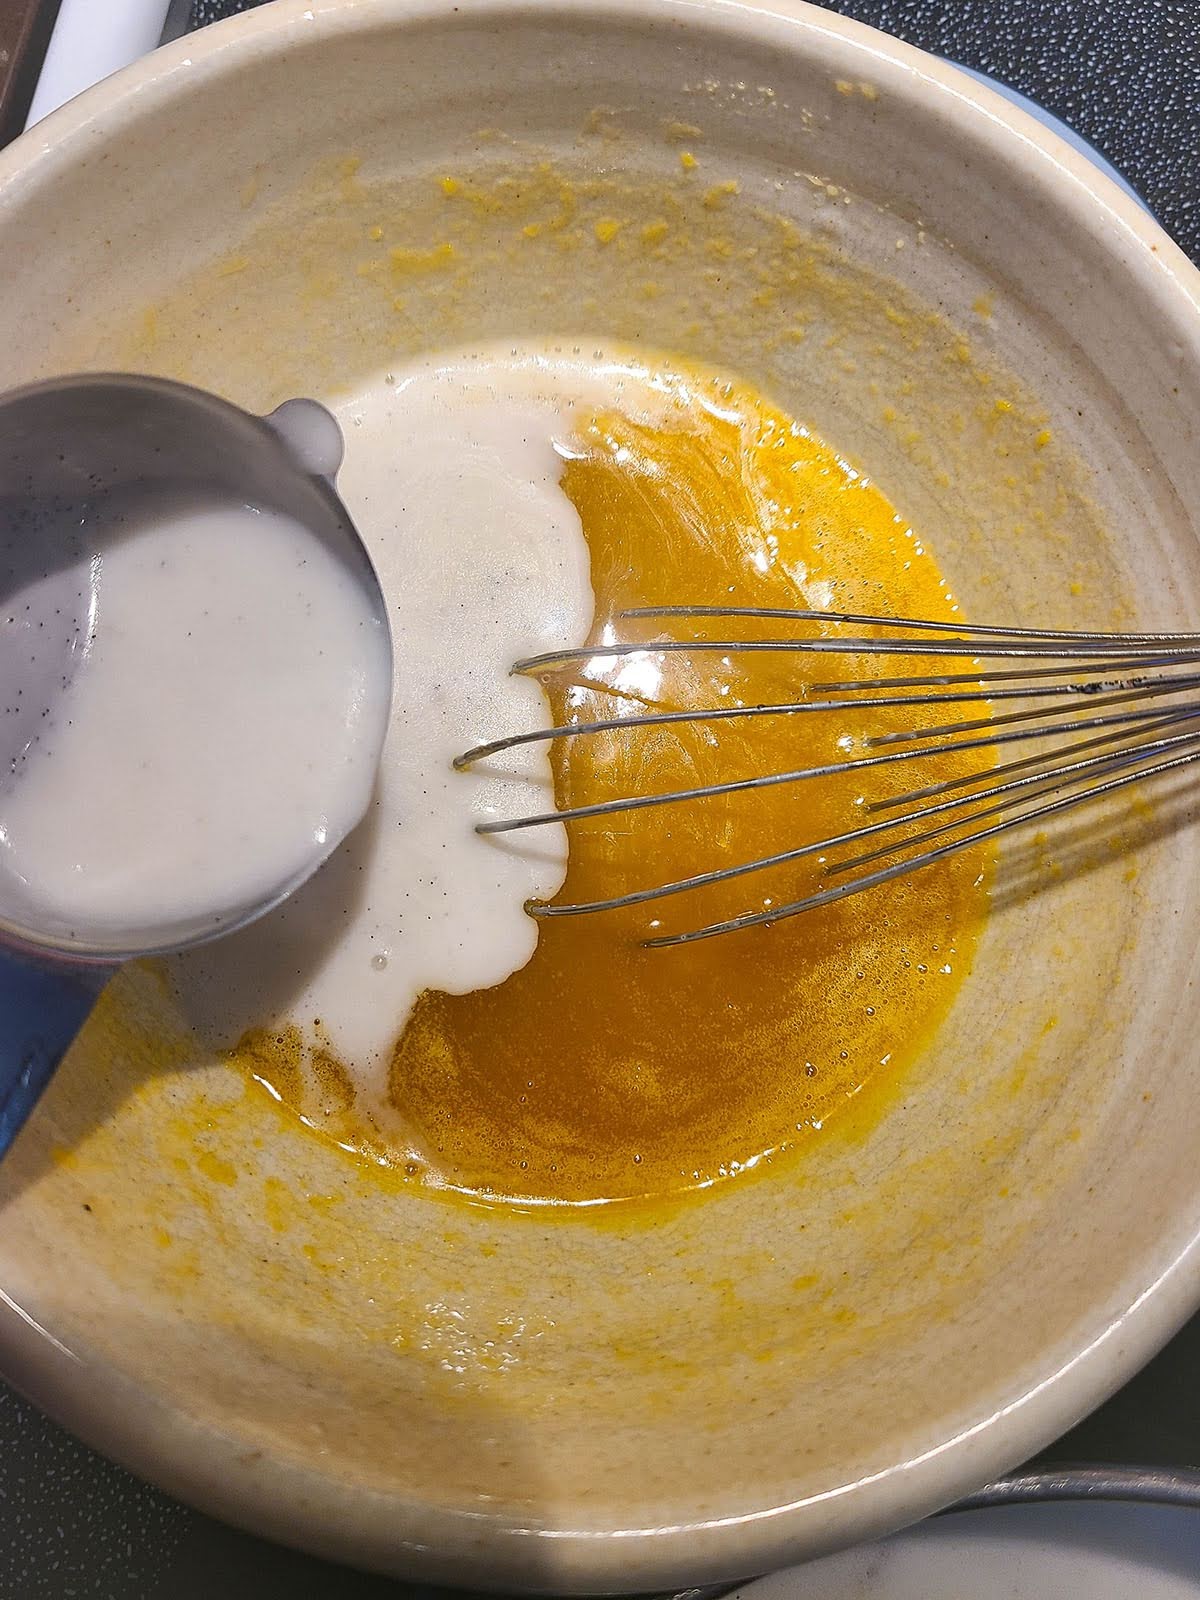
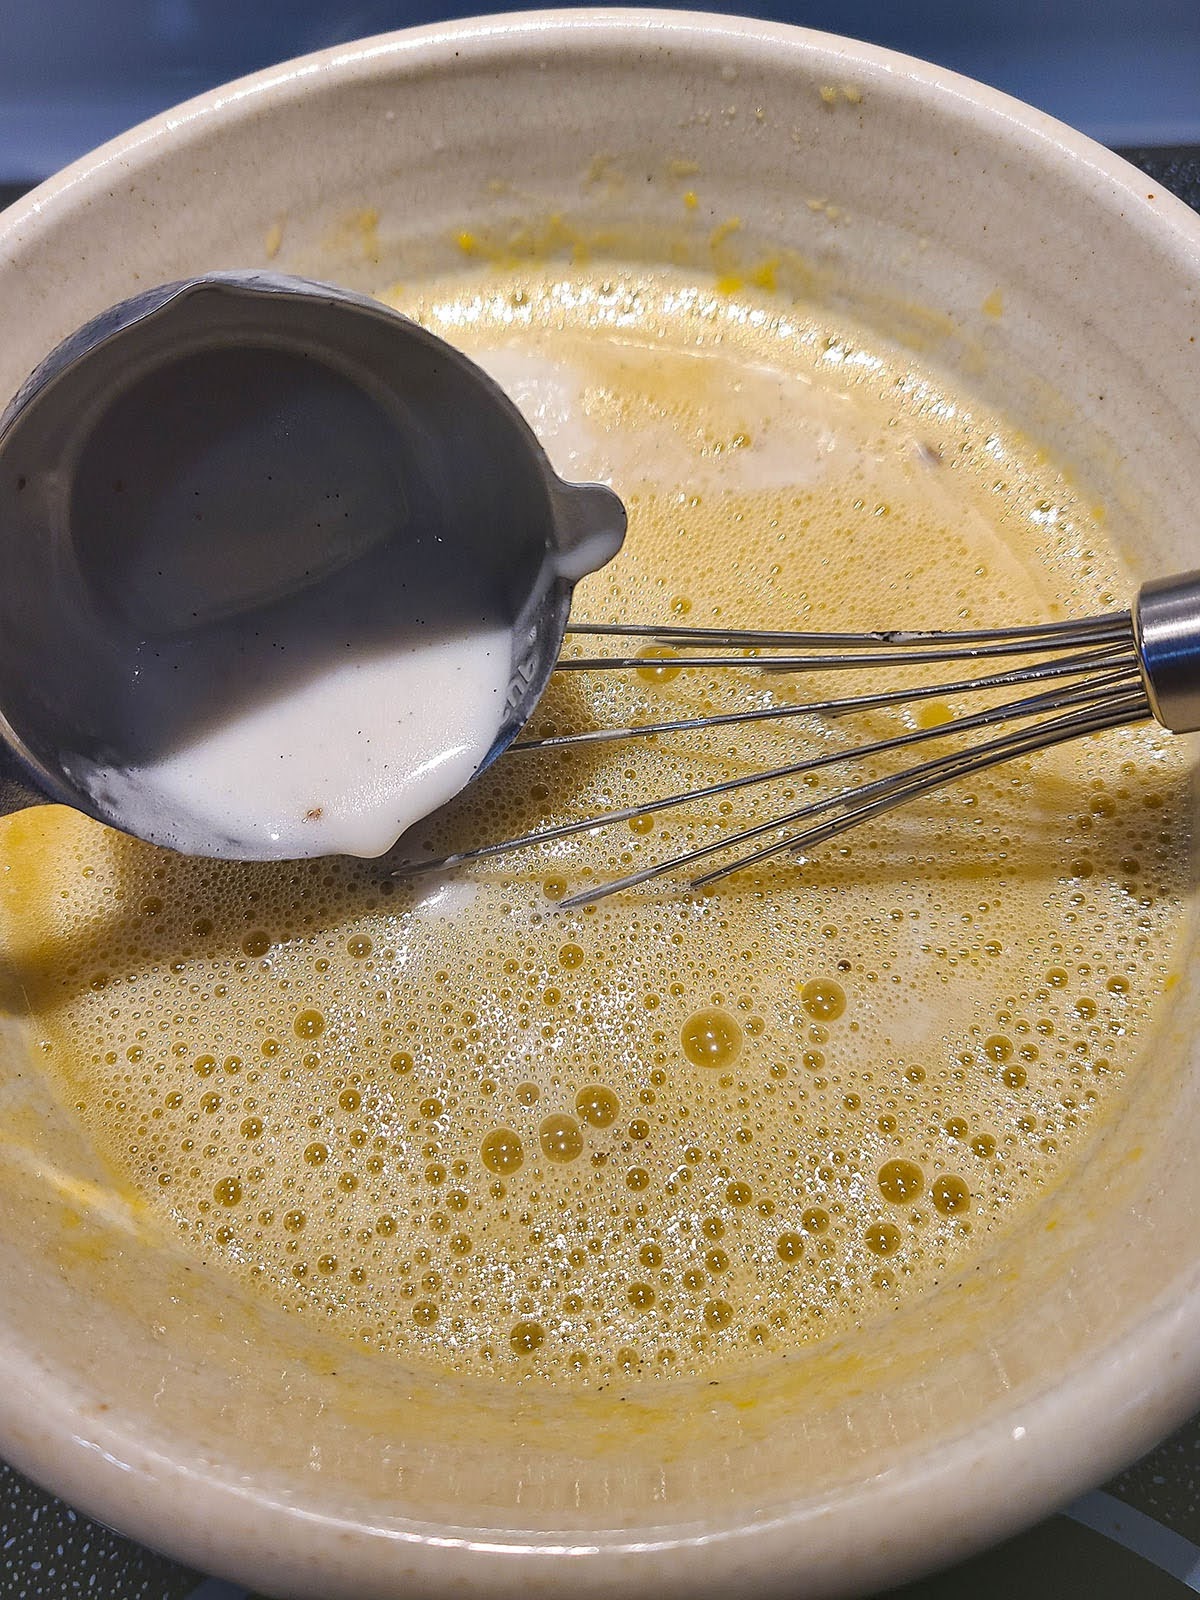
4. Stir ¼ cup of the warm milk mixture into the egg yolk mixture, to slowly temper the eggs. Repeat this several more times until you’ve added 1 ½ cups of milk to the egg mixture.
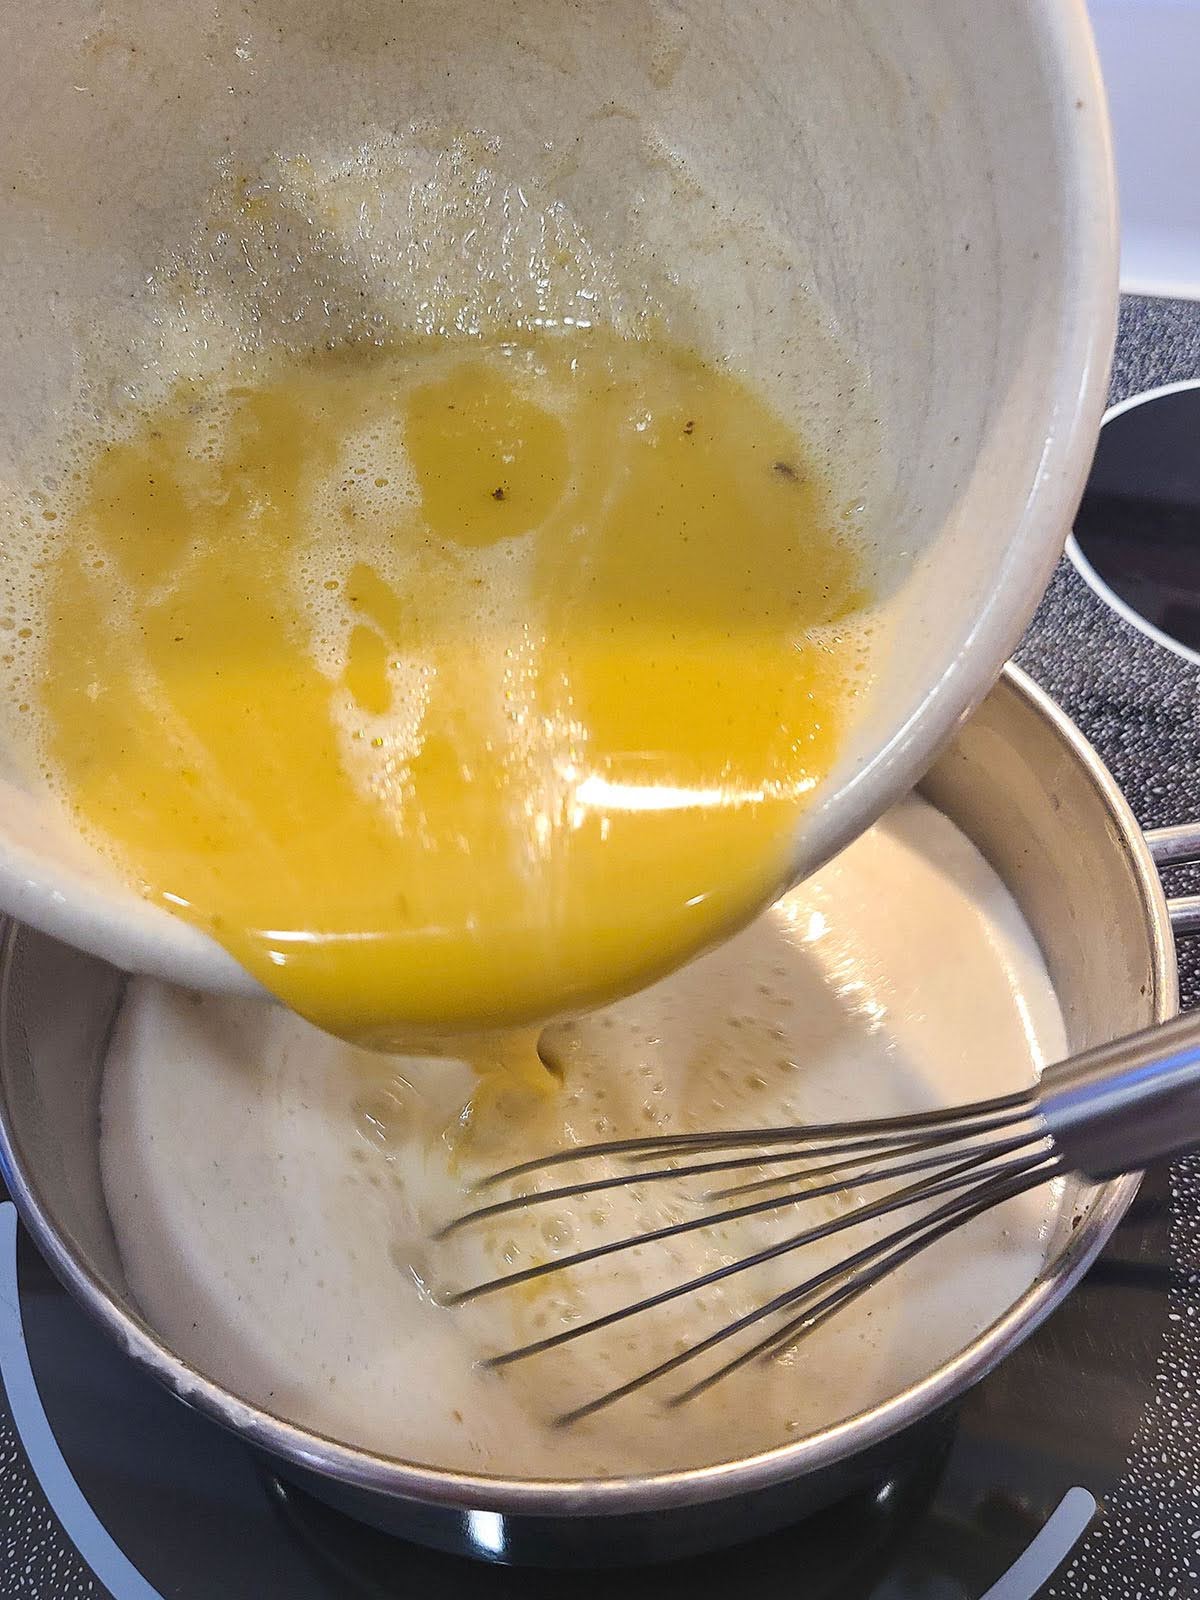
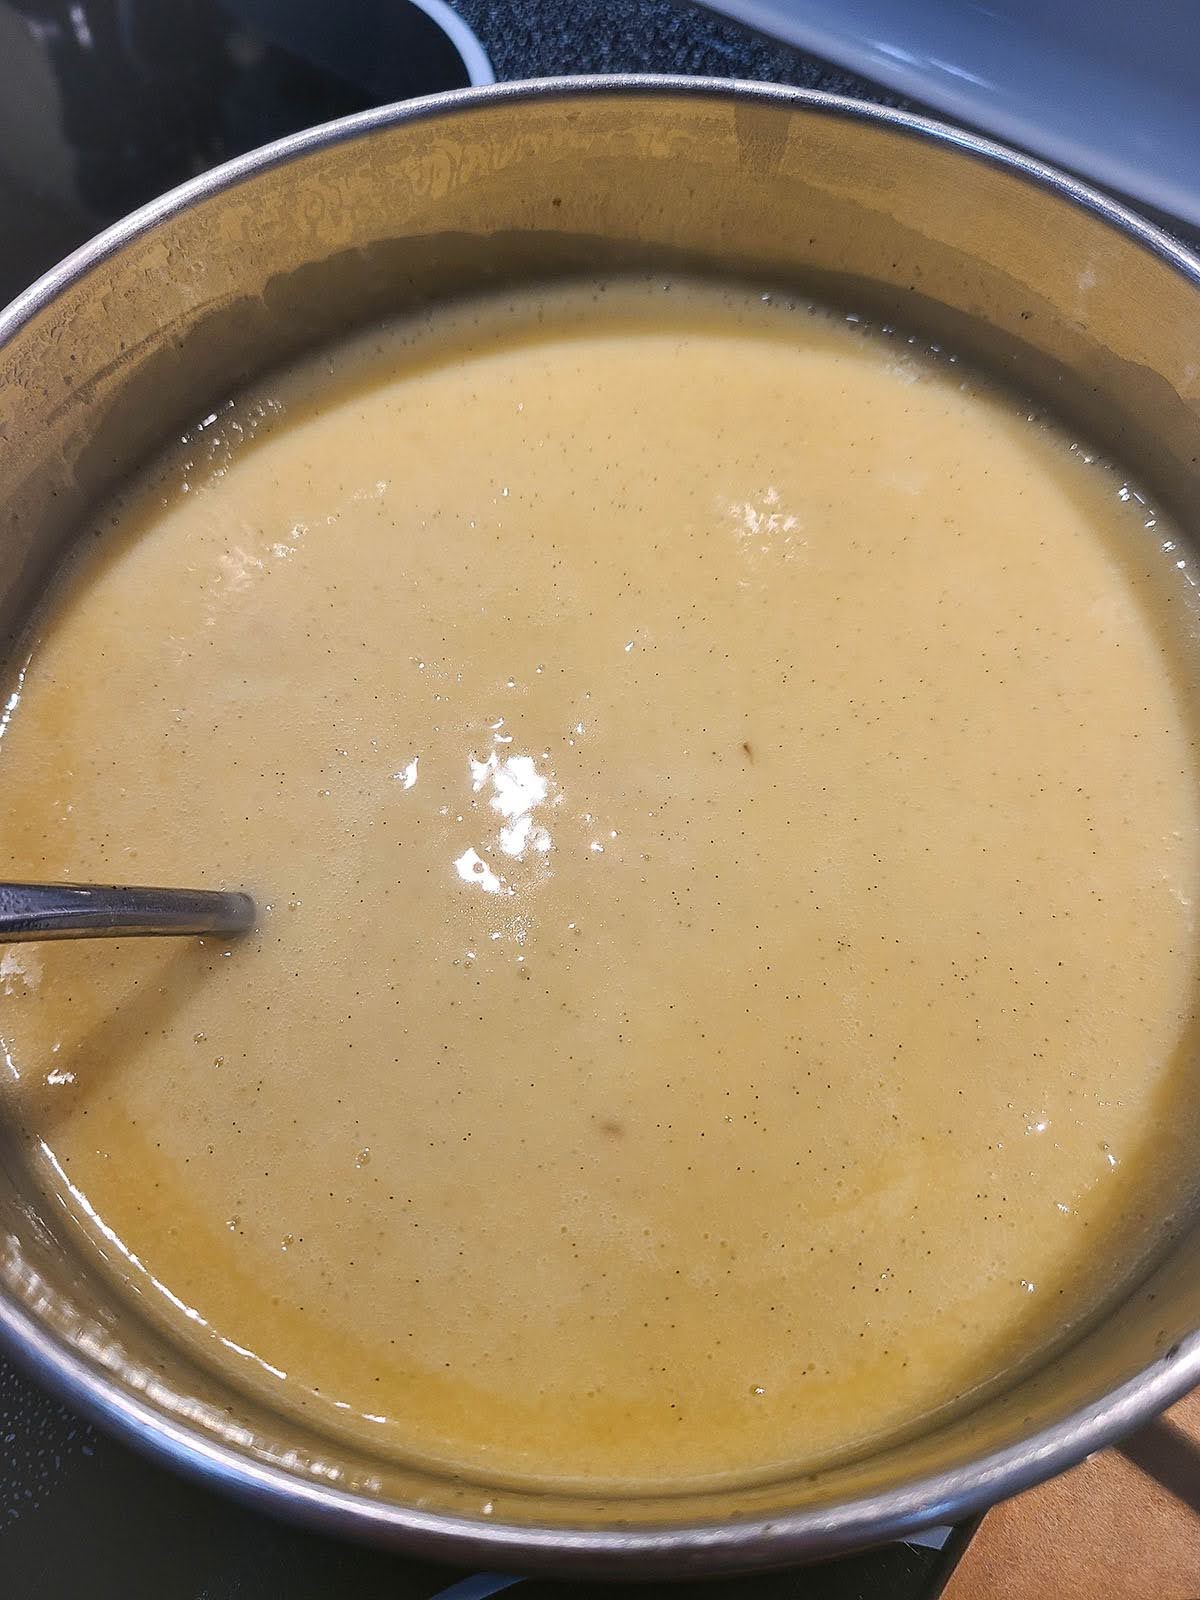
5. Pour the tempered egg mixture back into the pot with the remaining milk mixture. Slowly bring this back up to a simmer over medium-low heat. Continue stirring for about 5 minutes until this thickens into a custard, then remove from the heat. It should be thick enough to coat the back of a spoon.
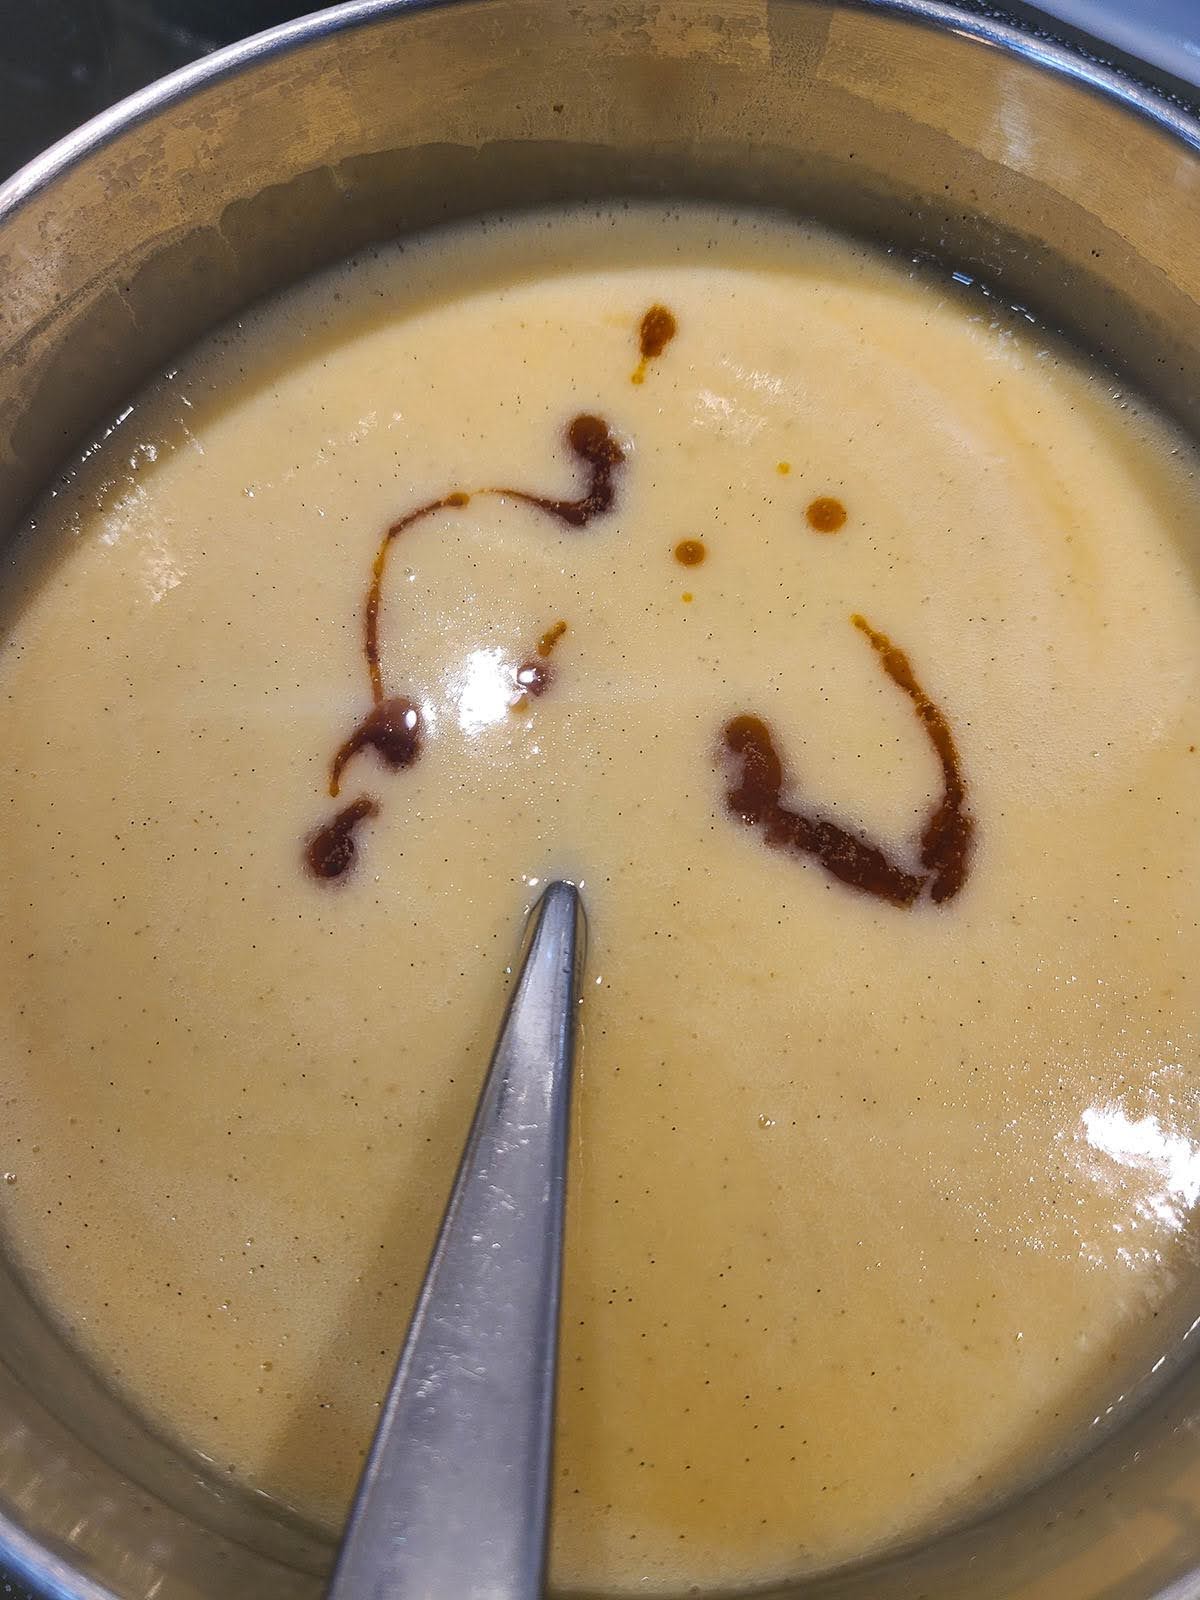
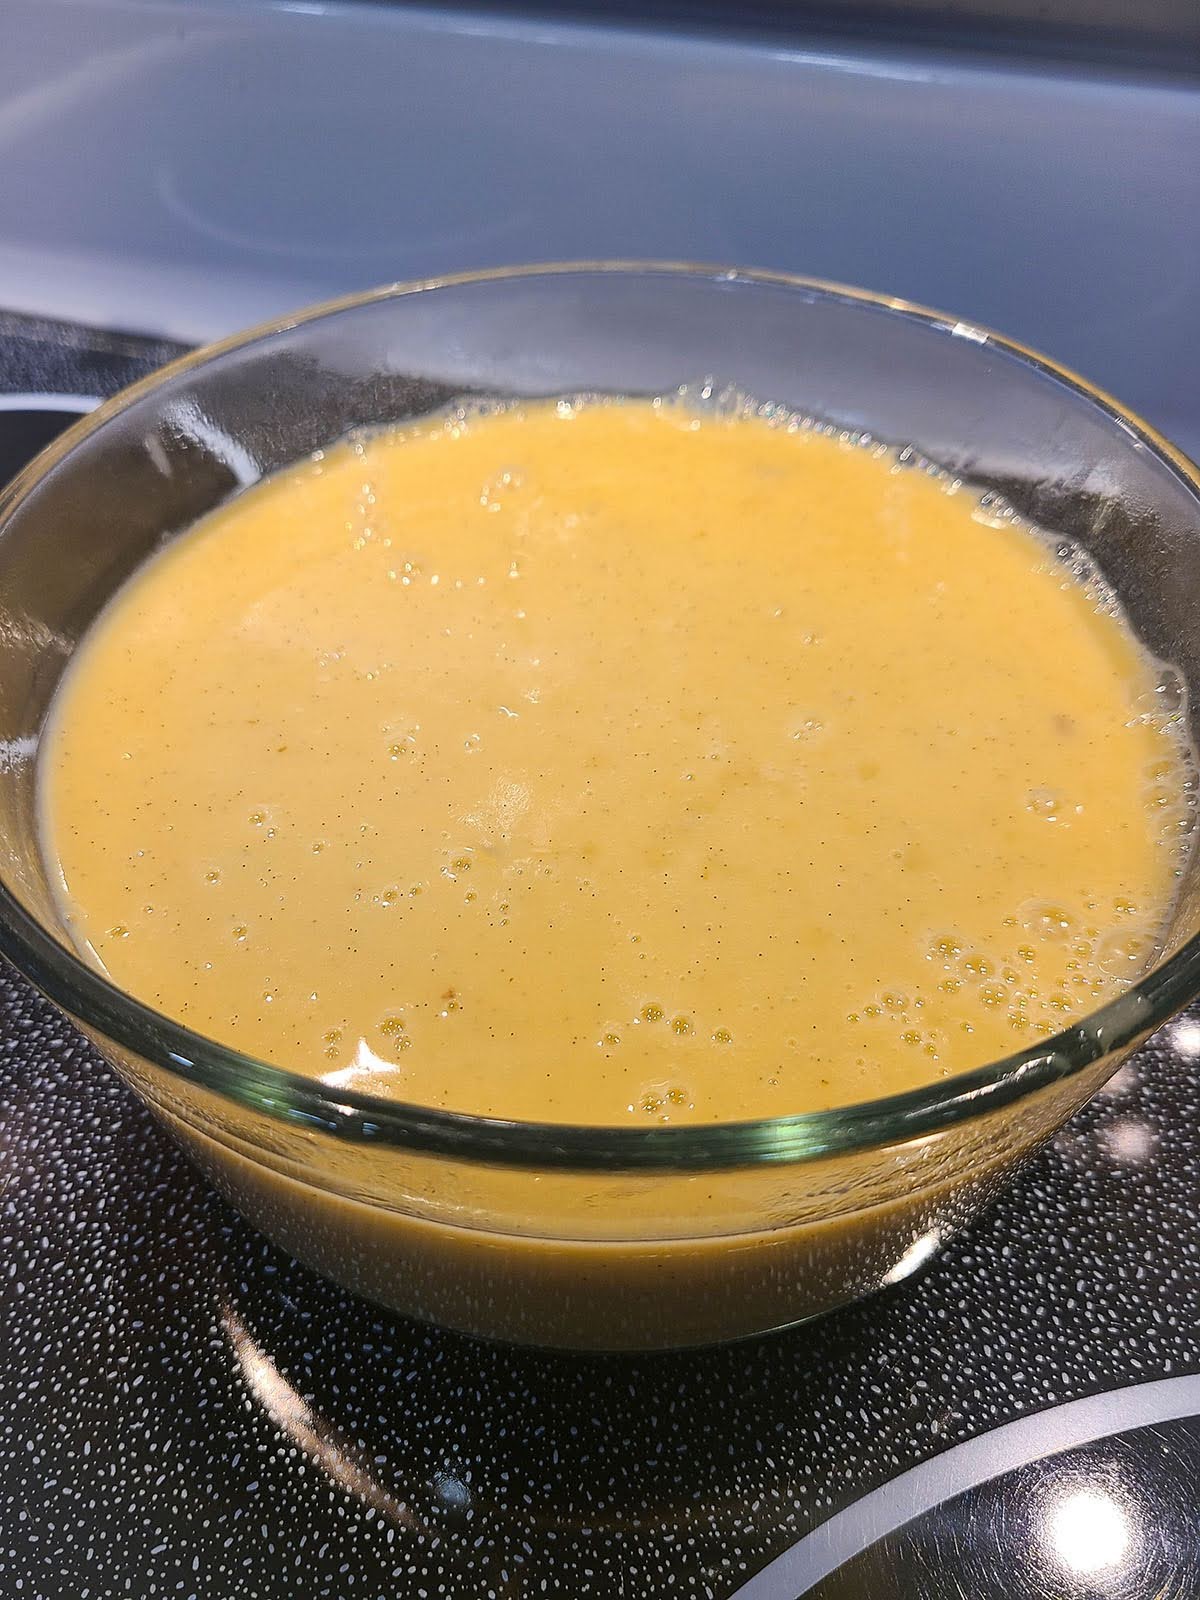
6. Add the vanilla extract and stir. Leave the vanilla bean pod pieces in there. Transfer to a container and let the mixture cool for 20 minutes. Cover and refrigerate for at least 6 hours, or overnight.
7. Before making the ice cream, remove the vanilla bean pod pieces from the custard.
Part 2: Making the Ice Cream – Choose 1 Method
Method 1: Ice Cream Maker
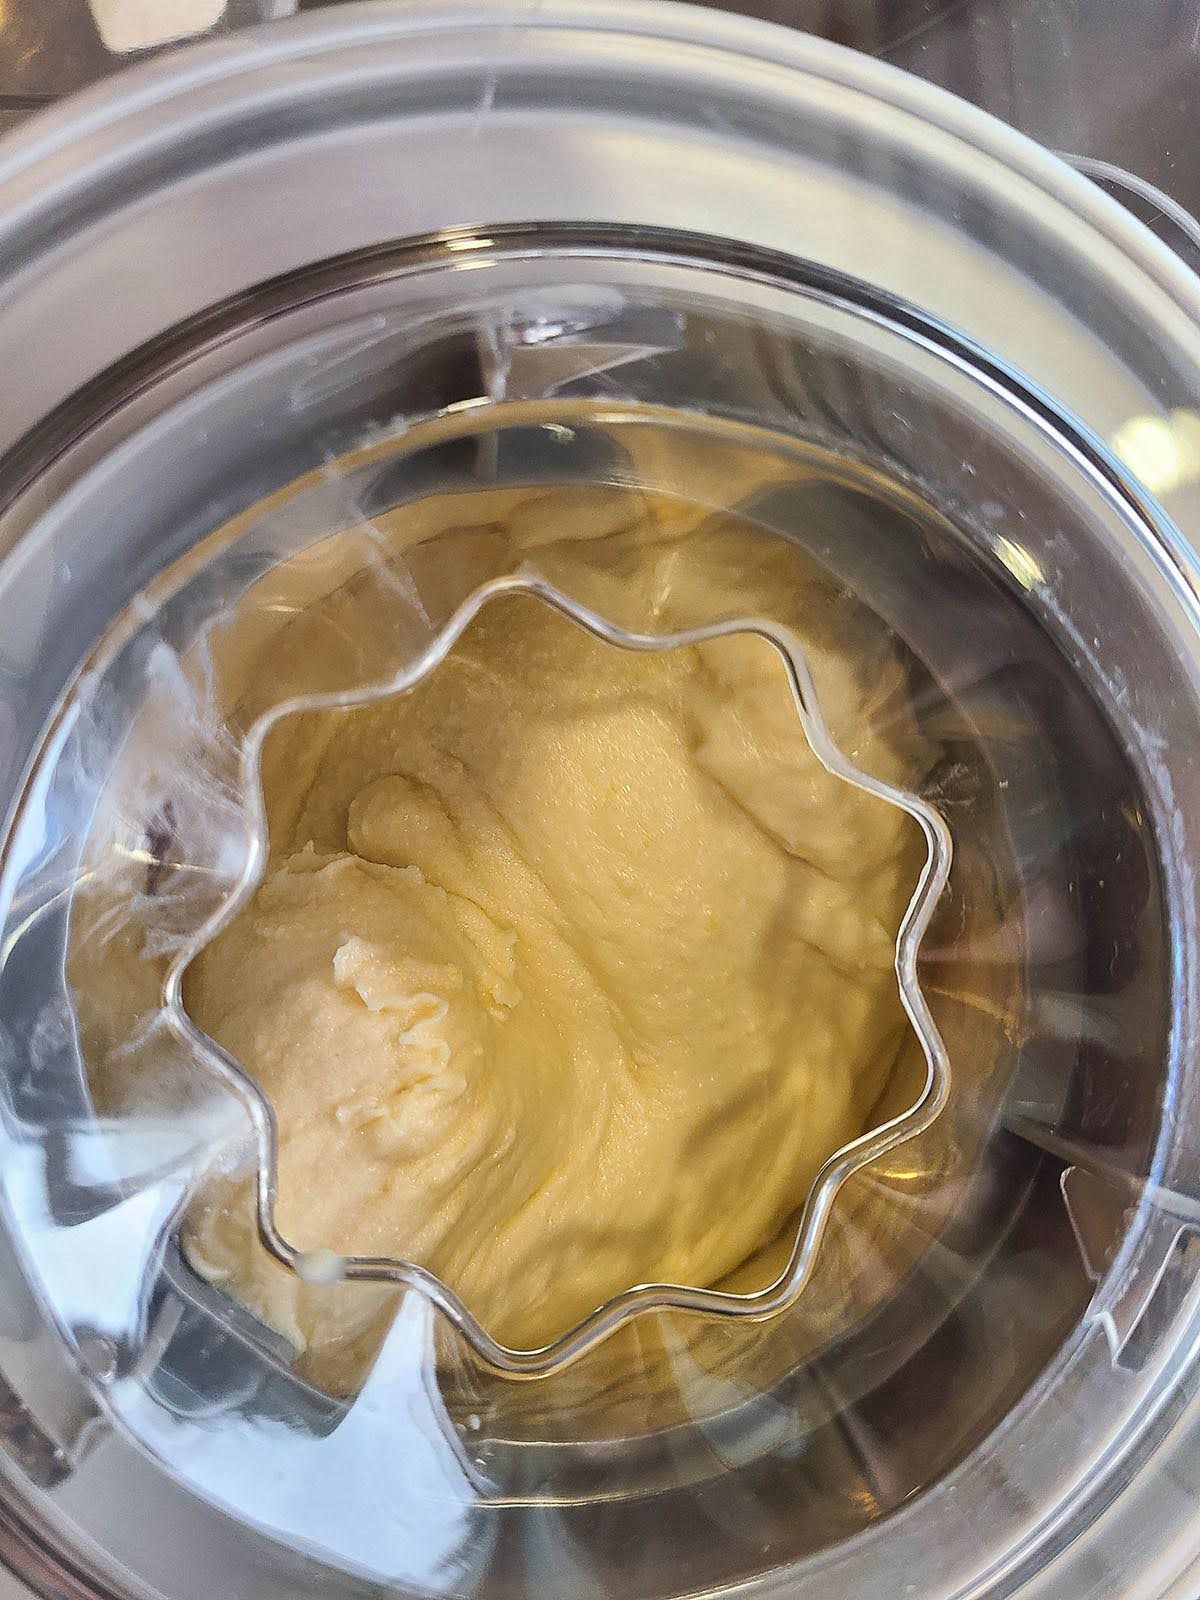
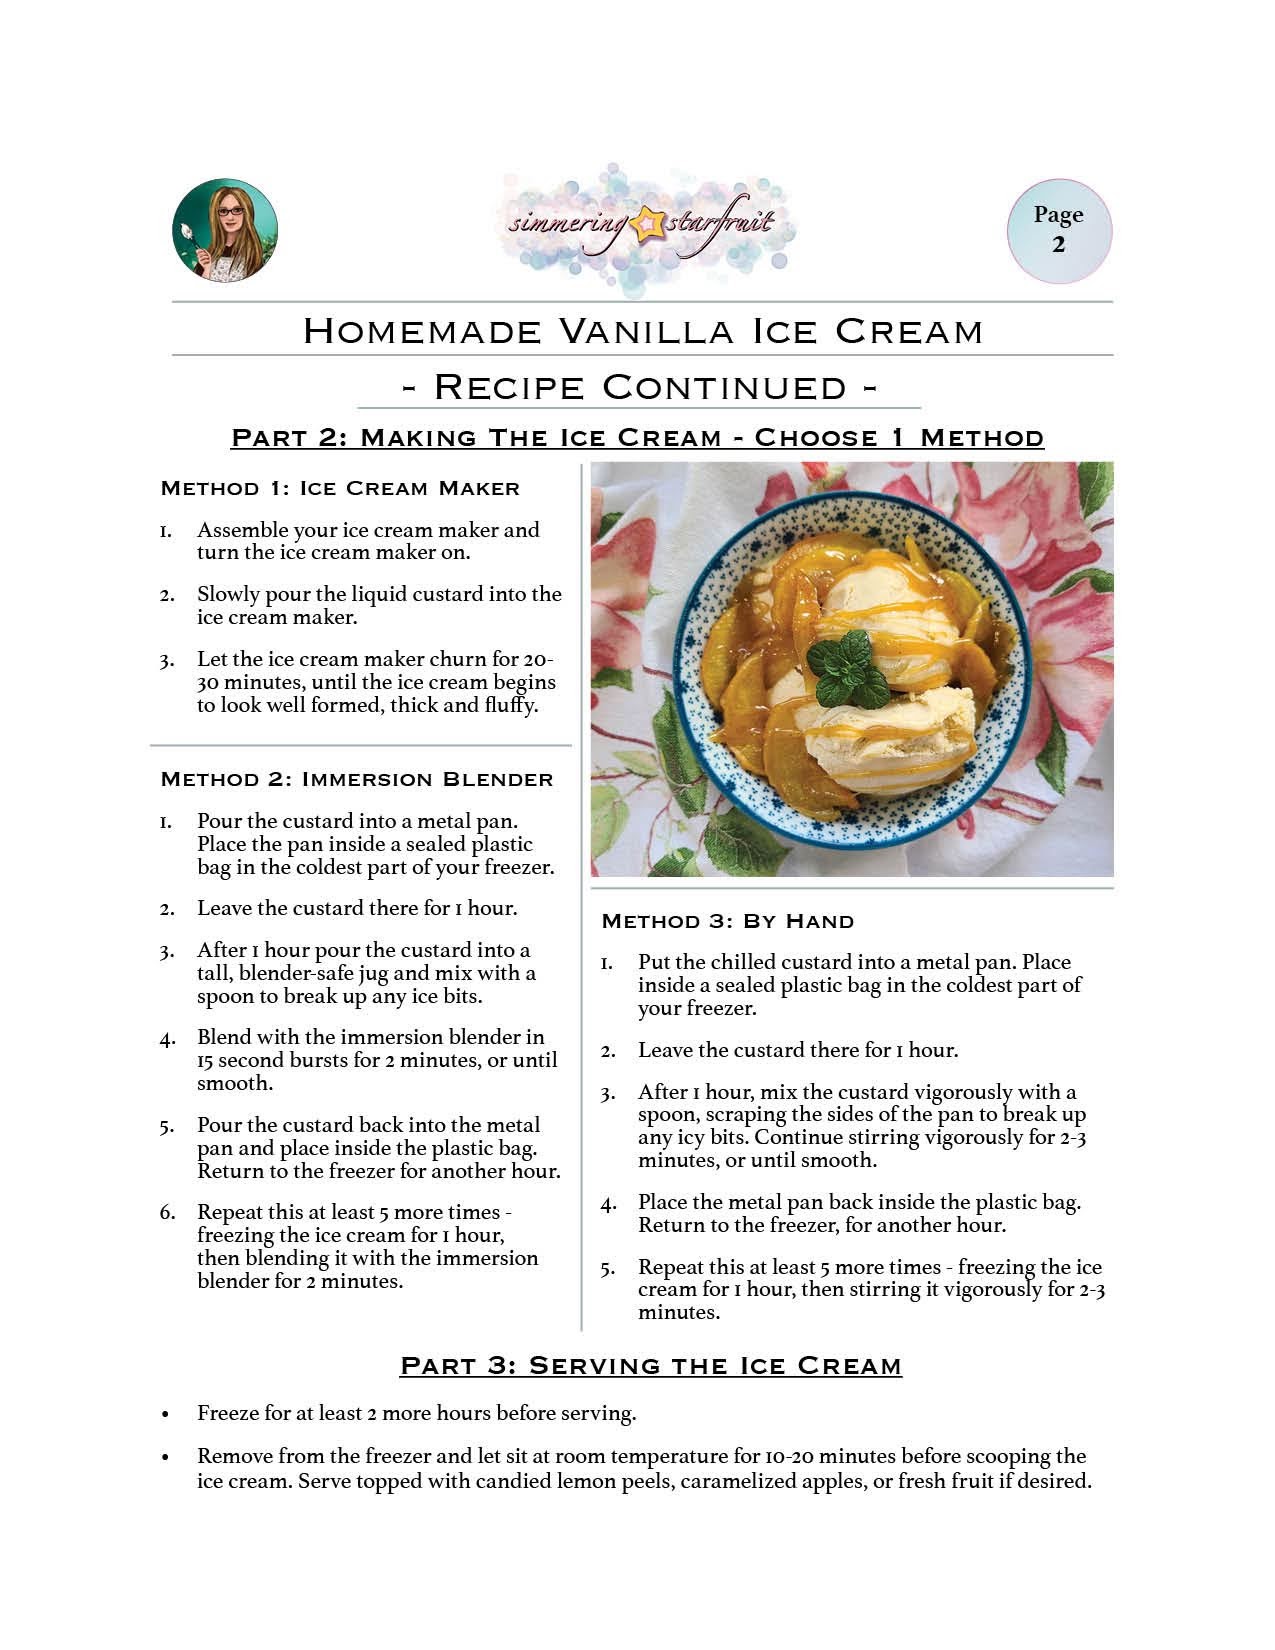
1. Assemble your ice cream maker and turn the ice cream maker on.
Note: Make sure you’ve already pre-chilled the ice cream bowl for the machine in your freezer before hand.
2. Slowly pour the liquid custard into the ice cream maker.
3. Let the ice cream maker churn for 20-30 minutes, until the ice cream begins to look well formed, thick and fluffy.
Method 2: Immersion Blender
1. Pour the custard into a metal pan. Place the pan inside a sealed plastic bag in the coldest part of your freezer.
2. Leave the custard there for 1 hour.
3. After 1 hour pour the custard into a tall, blender-safe jug and mix with a spoon to break up any ice bits.
4. Blend with the immersion blender in 15 second bursts for 2 minutes, or until smooth.
5. Pour the custard back into the metal pan and place inside the plastic bag. Return to the freezer for another hour.
6. Repeat this at least 5 more times – freezing the ice cream for 1 hour, then blending it with the immersion blender for 2 minutes.
Method 3: By Hand
1. Put the chilled custard into a metal pan. Place inside a sealed plastic bag in the coldest part of your freezer.
2. Leave the custard there for 1 hour.
3. After 1 hour, mix the custard vigorously with a spoon, scraping the sides of the pan to break up any icy bits. Continue stirring vigorously for 2-3 minutes, or until smooth.
4. Place the metal pan back inside the plastic bag. Return to the freezer, for another hour.
5. Repeat this at least 5 more times – freezing the ice cream for 1 hour, then stirring it vigorously for 2-3 minutes.
Part 3: Serving the Ice Cream
Freeze for at least 2 more hours before serving.
Remove from the freezer and let sit at room temperature for 10-20 minutes before scooping the ice cream. Serve topped with candied lemon peels, caramelized apples, or fresh fruit if desired.
Click here for the recipe for honey caramel apple slices, the perfect ice cream topping!
A Simple Decadent Dessert… And A Shirt!
Did you know you can also use ice cream as a clothing ingredient in Stardew Valley? Bring your ice cream over to Emily’s house along with some wool-spun into cloth. Jam them both on Emily’s sewing machine and you’ll be rewarded with the retro rainbow shirt!
While the game describes this shirt as “simple with a faded rainbow pattern,” I prefer to think of it as a snazzy-looking outfit with muted greens and soft reds that are guaranteed to help you get your groove on! Also why doesn’t Pelican Town have a discotheque!?
What can I say, it’s a pretty wild world when you can make ice cream into a shirt, but I’m up for it. Hopefully it’s cool and refreshing, and doesn’t have that melted sticky feeling… yuck.
Did you make this homemade ice cream? Let me know!


Leave a comment