
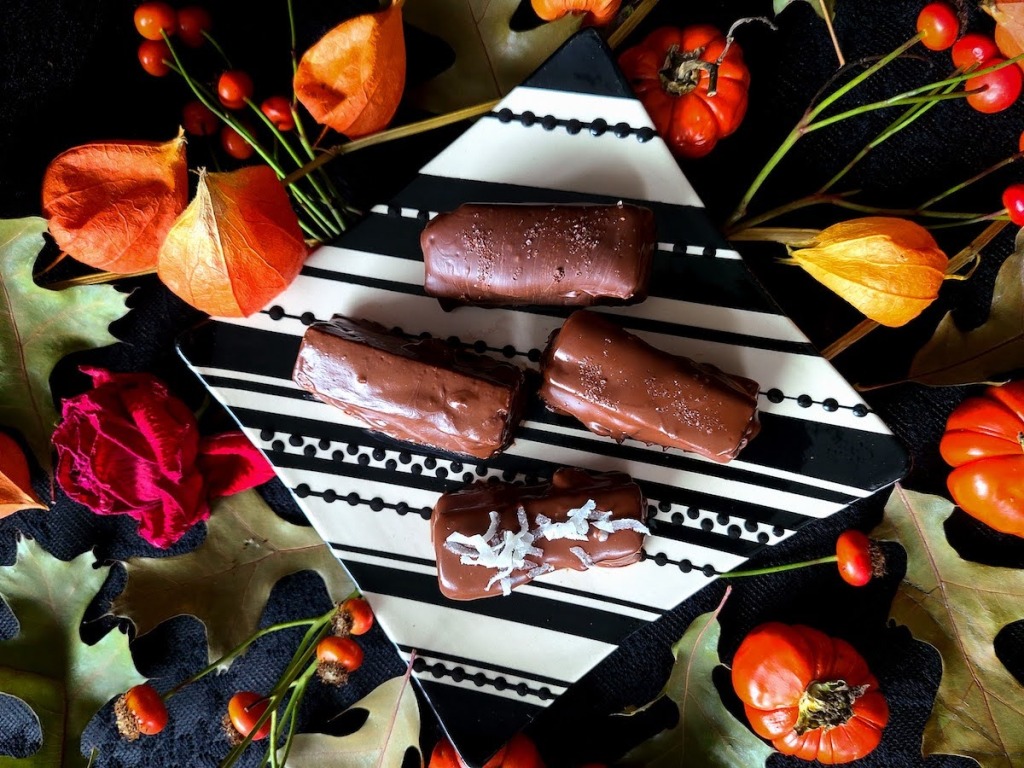
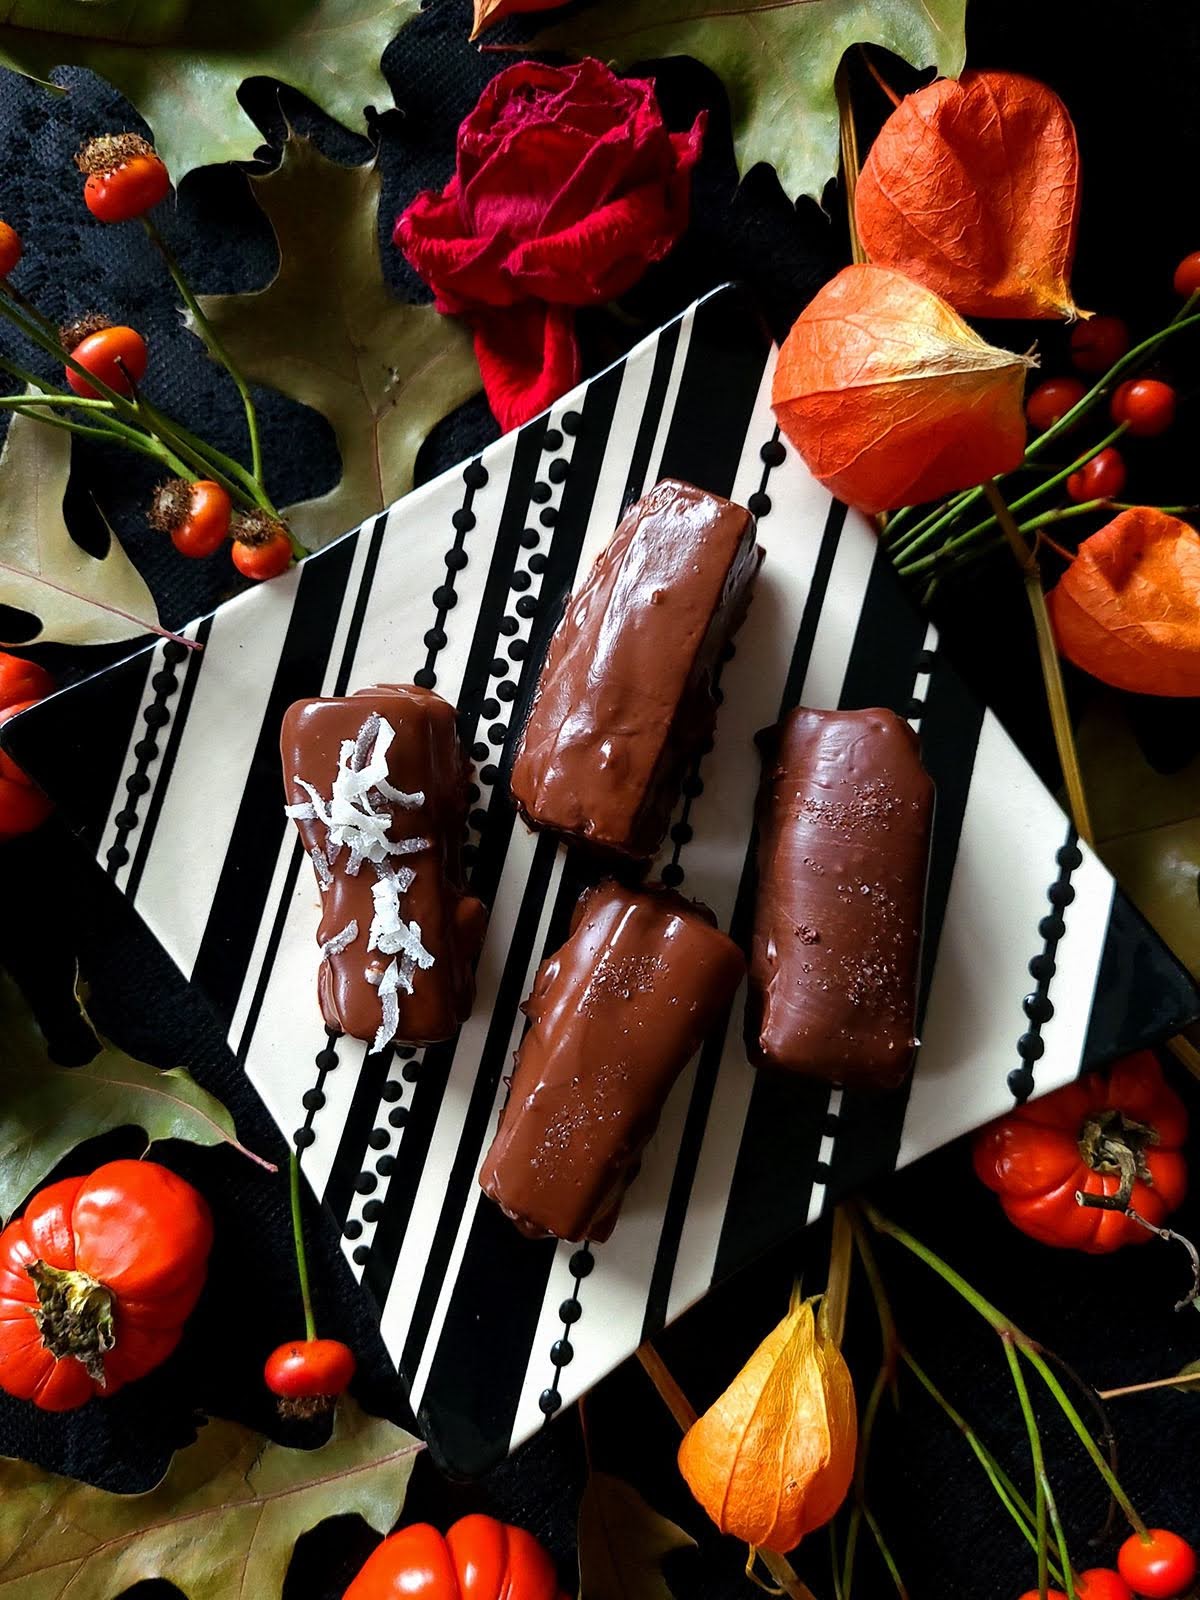
Sweet and spooky Hallowe’en treat bars to share with your friends and family this Hallowe’en. Dripping with chocolate, these cookie bars have an extra fun trick in store for you inside the buttercream!
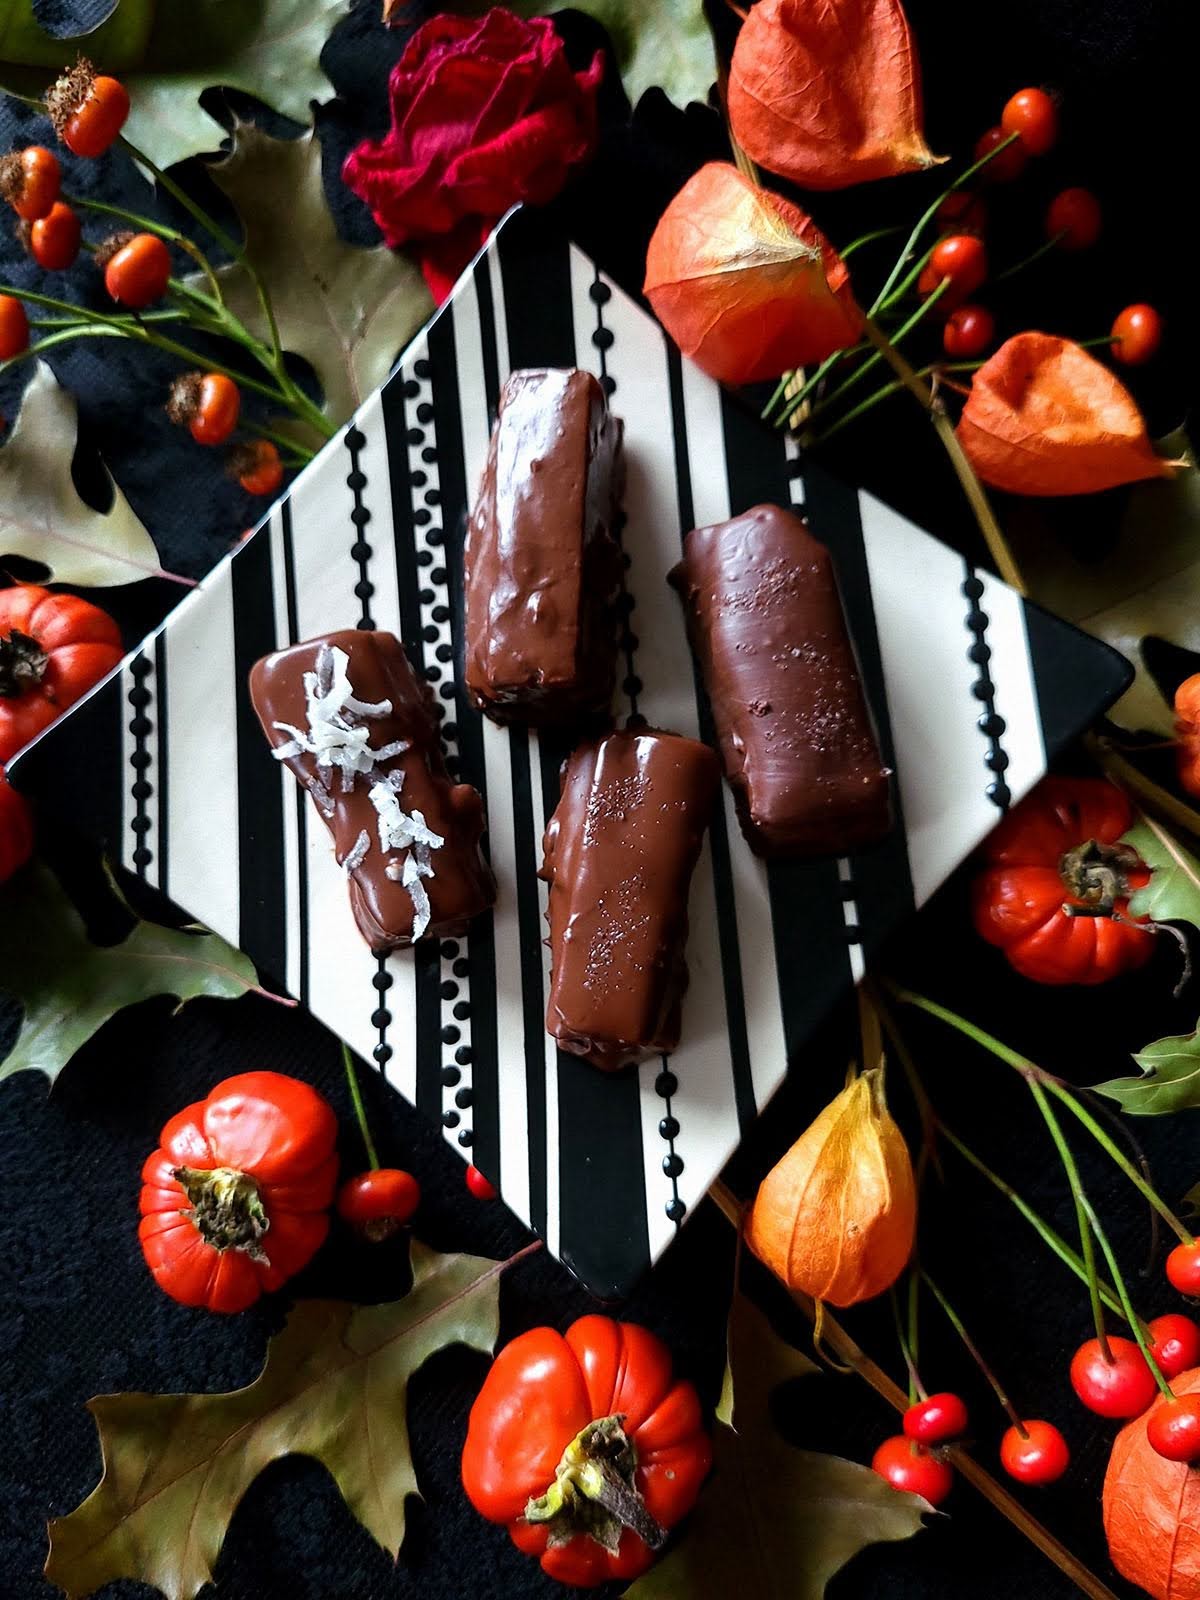
I love Hallowe’en; it’s one of my favourite times of the year – fun movies, ghoulish costumes and delicious treats! These treat bars are chocolatey, soft, chewy, and guaranteed to make your Hallowe’en a sweet night. A festive goody for any Hallowe’en party or get-together.
One of the buttercream components is for adults only, but I’ve listed some child-friendly substitution suggestions as well. Also even if you do make a child-friendly version of these, please share them only with direct family and friends (these are NOT for trick-or-treaters – just stick to store-bought candy there).
When I was a kid I used to start making Hallowe’en decorations in July each year, and there would be hundreds by the time October rolled around. Our house was always decked out with every Hallowe’en craft project you could imagine – witches smashed into the doors, cloth ghosts, wooden painted tombstones, paper cats and bats, along with a mighty selection of carved candlelit pumpkin and a healthy dose of dollar store spiderwebs.
We even had a skeleton named Mr. Bones who would open the door to trick-or-treaters, revealing a cauldron altar inside the kitchen and out would pour the hilarious sounds of a Hallowe’en cassette tape from a big box store. Chains rattling, doors creaking, someone crying in a low voice, and what sounded suspiciously like someone being tickled to death.
Even as I grew older and retired from trick-or-treating, I still loved learning about the history of Hallowe’en and spooky things. I read every book from the public library I could get my hands on about the history of All Hallow’s Eve, witchcraft, books about vampires, ghost stories. So yeah, I’m really into Hallowe’en.
While I have a lot of Hallowe’en traditions, like watching Hocus Pocus every year, it’s really fun to try something new. These treat bars are my new wild card this year, and they are terrifyingly good. Give them a try!
Hallowe’en Treat Bars
A fun and spooky treat to whip up in an afternoon for a family or friend get-together, these coffee crisp style chocolate cookie bars are sure to be a hit! This recipe made approx. 20 treat bars.
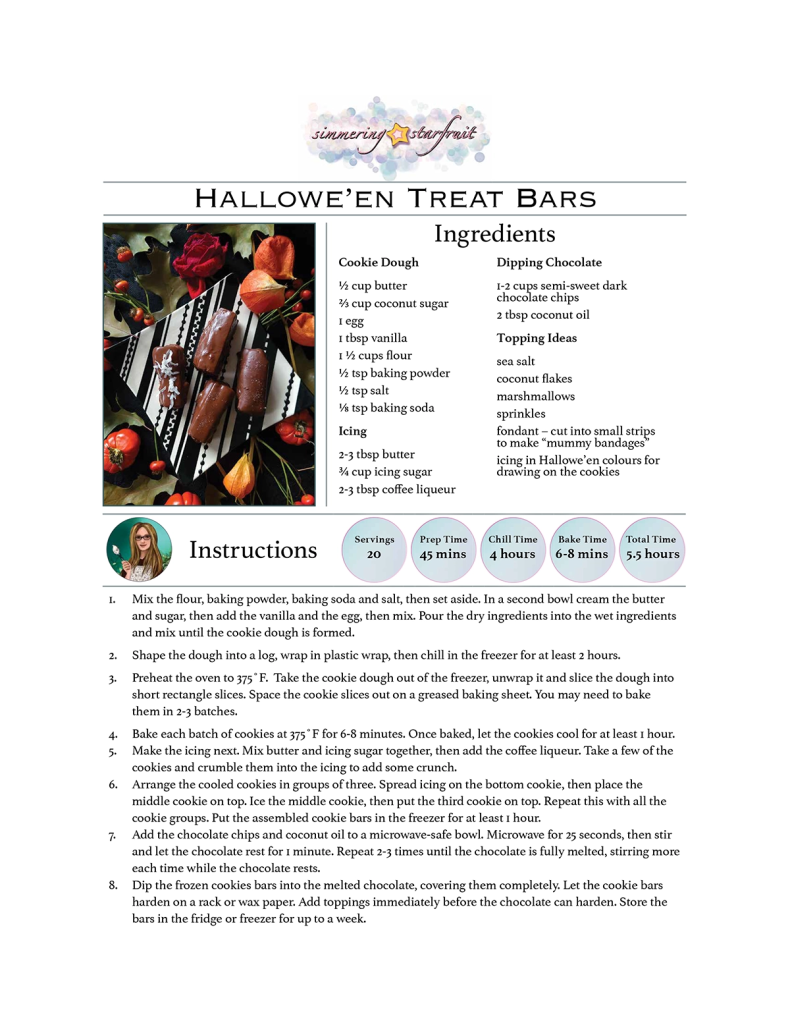
Ingredients
Cookie Dough
- ½ cup butter
- ⅔ cup coconut sugar
- 1 egg
- 1 tbsp vanilla
- 1 ½ cups flour
- ½ tsp baking powder
- ½ tsp salt
- ⅛ tsp baking soda
Icing
- 2-3 tbsp butter
- ¾ cup icing sugar
- 2-3 tbsp coffee liqueur*
*Some child-friendly alternatives for the liqueur (2-3 tbsp worth):
- chocolate hazelnut butter (like Nutella)
- caramel
- strawberry jam
- orange juice + zest
Dipping Chocolate
- 1-2 cups semi-sweet dark chocolate chips
- 2 tbsp coconut oil
Optional: Ideas For Toppings
- sea salt
- coconut flakes
- marshmallows
- sprinkles
- fondant – cut into small strips to make “mummy bandages”
- icing in Hallowe’en colours for drawing on the cookies
Tools
- 2-3 mixing bowls
- microwave-safe bowl
- mixing spoon
- spatula
- measuring cup
- measuring spoons (tablespoon, 1/2 teaspoon, 1/8 teaspoon)
- plastic wrap/wax paper/reusable wrap
- cutting board
- sharp long knife
- oven mitts
- baking sheet
- cooling rack
- icing spatula or knife
- fork
Instructions
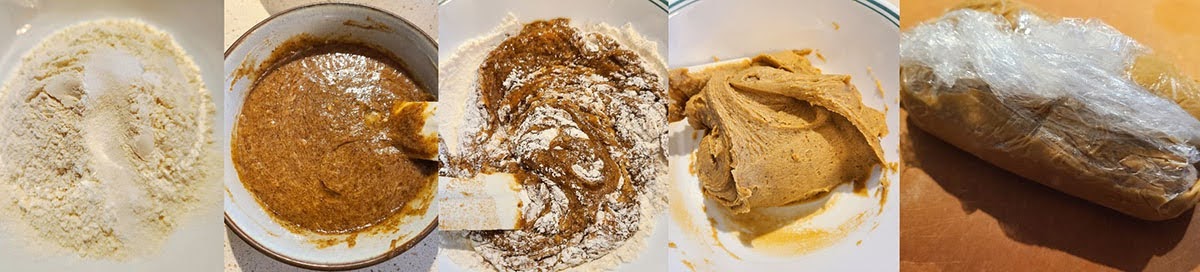
1. Mix the flour, baking powder, baking soda and salt, then set aside. In a second bowl cream the butter and sugar, then add the vanilla and the egg, then mix. Pour the dry ingredients into the wet ingredients and mix until the cookie dough is formed.
2. Shape the dough into a log, wrap in plastic wrap, then chill in the freezer for at least 2 hours.
3. Preheat the oven to 375˚F. Take the cookie dough out of the freezer, unwrap it and slice the dough into short rectangle slices. Space the cookie slices out on a greased baking sheet. You may need to bake them in 2-3 batches.
4. Bake each batch of cookies at 375˚F for 6-8 minutes. Once baked, let the cookies cool for at least 1 hour.
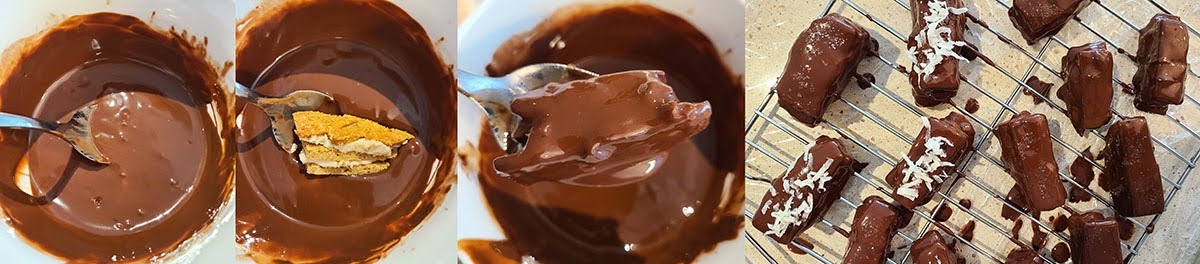
5. Make the icing next. Mix butter and icing sugar together, then add the coffee liqueur. Take a few of the cookies and crumble them into the icing to add some crunch.
6. Arrange the cooled cookies in groups of three. Spread icing on the bottom cookie, then place the middle cookie on top. Ice the middle cookie, then put the third cookie on top. Repeat this with all the cookie groups. Put the assembled cookie bars in the freezer for at least 1 hour.

7. Add the chocolate chips and coconut oil to a microwave-safe bowl. Microwave for 25 seconds, then stir and let the chocolate rest for 1 minute. Repeat 2-3 times until the chocolate is fully melted, stirring more each time while the chocolate rests.
8. Dip the frozen cookies bars into the melted chocolate, covering them completely. Let the cookie bars harden on a rack or wax paper. Add toppings immediately before the chocolate can harden. Store the bars in the fridge or freezer for up to a week.
After decorating, once the bars start to harden, I recommend putting them in the fridge or freezer to harden completely and more efficiently. Since these contain buttercream, I also recommend storing them in the fridge or freezer until they are going to be eaten.
Chill in the fridge or freezer for at least 1 hour, then serve and enjoy!
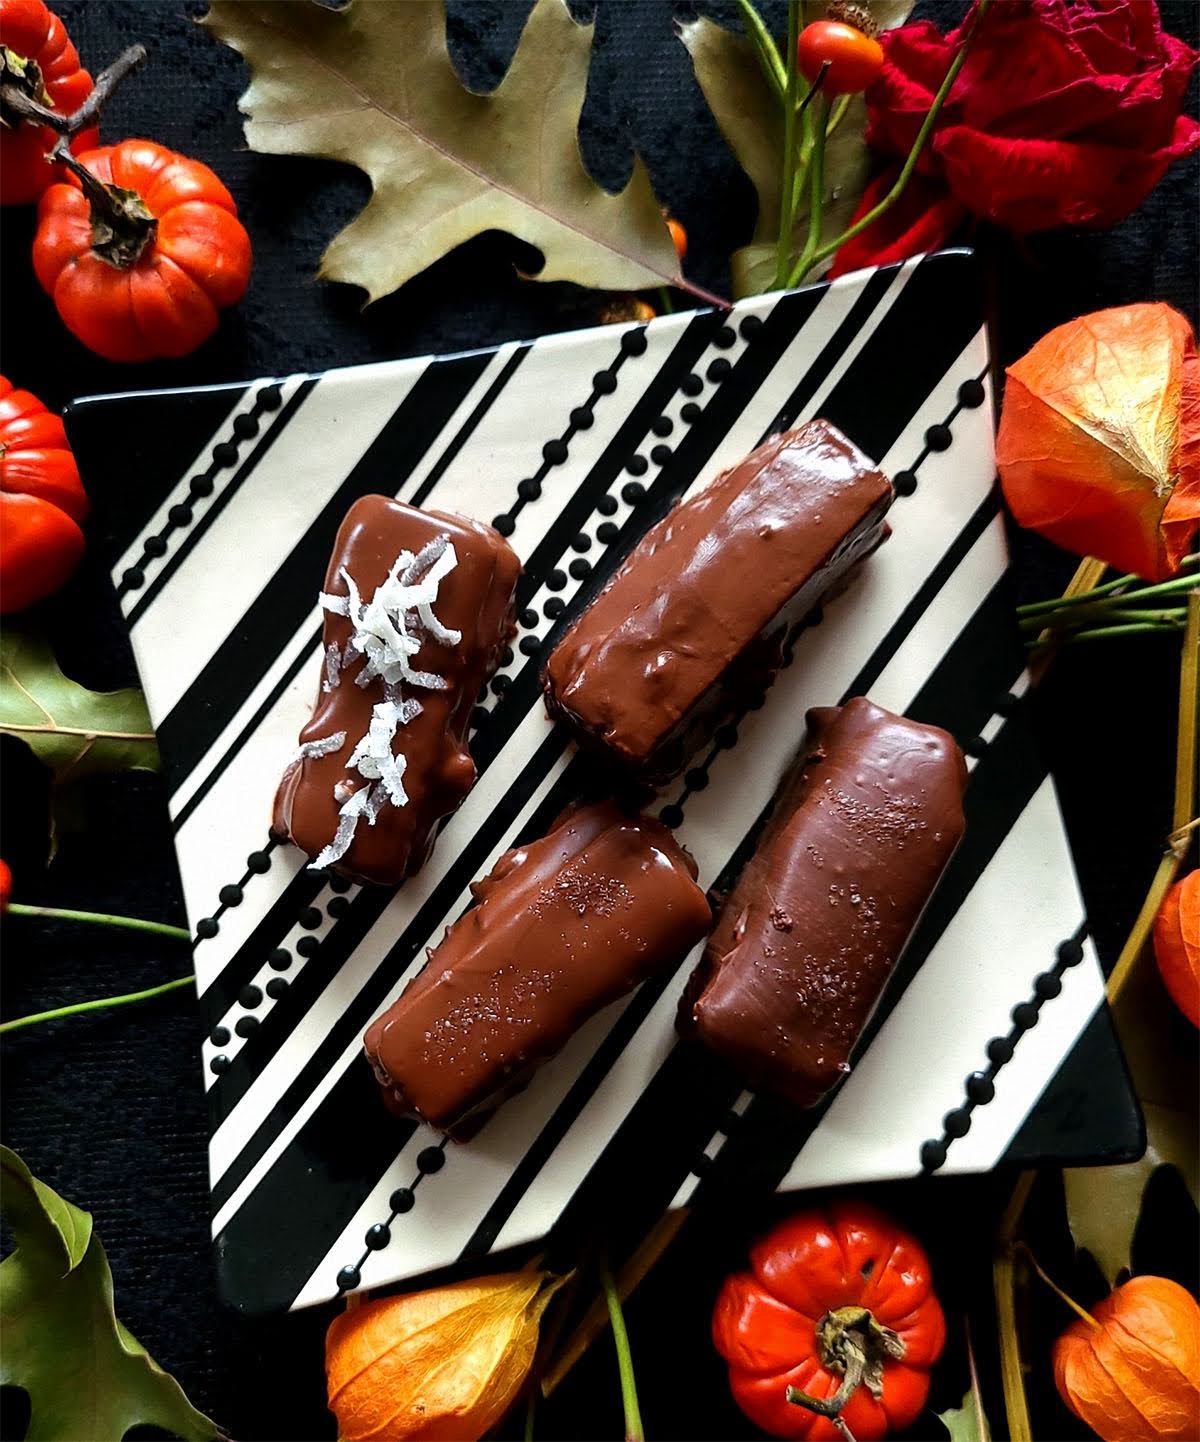
You can these bars with any toppings you like! I used sea salt and coconut flakes, but these would also be very easy for to decorate with just about any cookie topping you can think of. Go wild!
Happy Hallowe’en!
These Hallowe’en treat bars are so delicious, please give them a go! The coconut oil gives the outer layer of chocolate a softer, creamier feel, while the coffee liqueur in the buttercream packs a small punch.
Both the buttercream and the chocolate soaked into the cookies a little, keeping them moist and chewy. These bars tasted even better the second day.
Did you try making these Hallowe’en treat bars? Let me know in the comments.
Wishing everyone who celebrates a safe, festive and fun Hallowe’en!


Leave a comment